The Shower Fixture
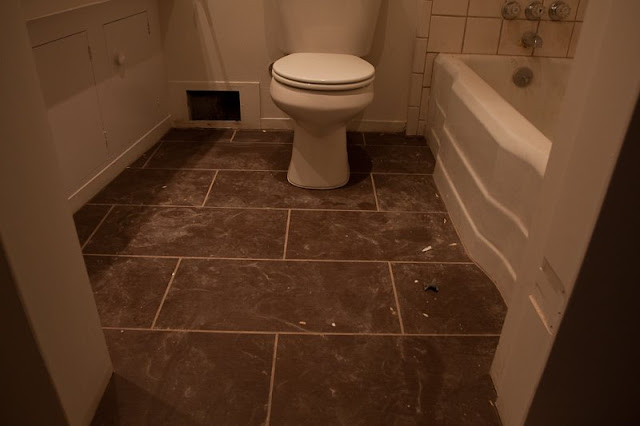
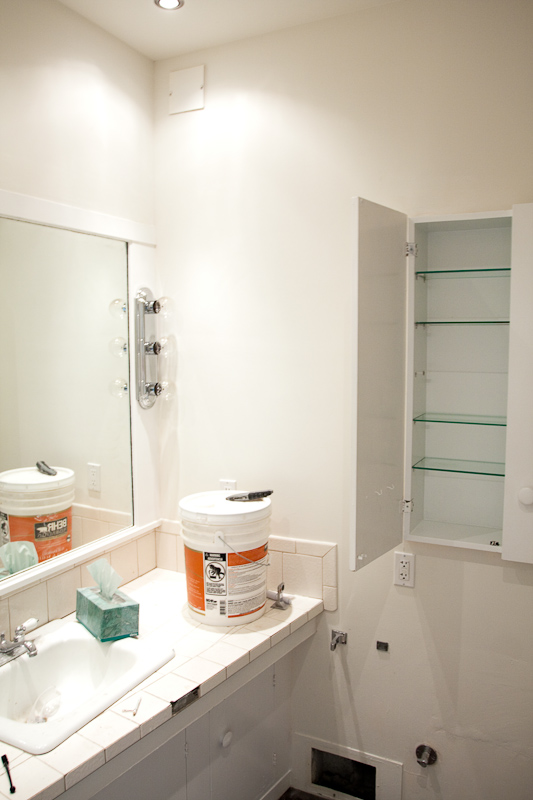
Both baths stood out negatively when we bought the home. Both had work done on them recently, but each shared a certain degree of shoddiness in craftsmanship, but in totally different ways. Since the work was recent and functioned for the the most part, they were pretty far down on my list of things for a full makeover. In the master, all I added was a wall heater, thermostat, new switches and covers for the electrical – mostly because I plan to tear it off and build a more complete bath sometime. In the hall bath, I raised the ceiling, changed return duct work, all new electrical, changed the lighting, new floor tile, new vent, new water lines, new sewer waste and vent (come to think about it, why didn’t I just tear everything out?). I left the cabinets, tub, fixtures, and also the cheapo tile around the sink and bath/shower alone.
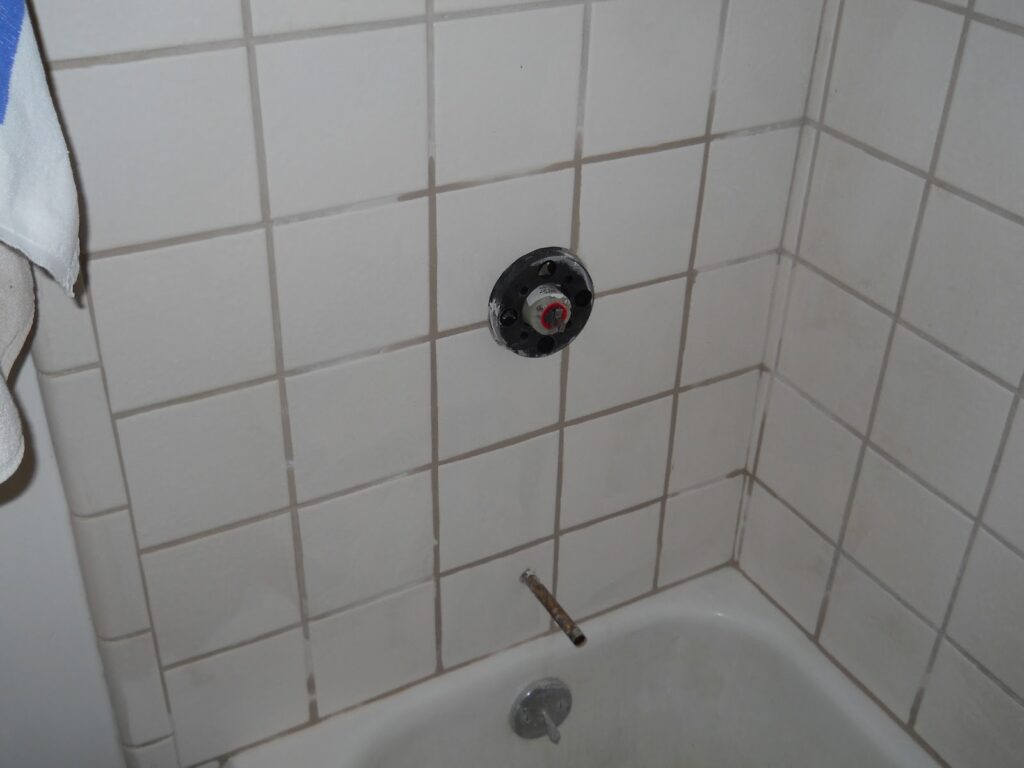
As much as I’ve wanted to leave them alone, both baths have been slowly working their way up my priority list, until this last week when one shot to the top. Since day one, the hall shower/bath fixture has bothered me. The fixture holes were poorly cut… at least for the current fixture. The fixture itself was not secured to anything but the plumbing pipes and then sandwiched against the wall with the little decorative bits around the handles and the tub spout- so it felt loosey goosey. Also, the cold water valve had a small leak from day one- drip, drip.
This week, my kids told me that the water was no longer working properly. As it turned out the diverter valve that you use to send water to either the shower or tub was leaking badly.
I opened the valve to do a quick check and see the damage. The valve had a boot gasket inside that was shredded.
I first had to find the make of the fixture. I had noticed that the brand was not plastered in large letters on the handles or really anywhere like you almost always see. The only thing I could find were the letters ccf on the valve itself. I thought this was a model or something, but no, it’s a company called Chung Cheng Fixtures. That was the first sign of things to come.
I did some calling around and after describing the gasket, I got nothing. I took the gasket to the plumbing desks at a couple plumbing stores and none had ever seen the like. By this time I had realized that even if I could find the parts, it wouldn’t just be the gasket and would probably cost half as much as the total fixture did. Also, if I was going to spend the money and get a new fixture, I didn’t want to replace the fixture with another three handle fixture… I’m not a fan.
My personal favorite for shower fixtures are single handle ball valves with tilt on/off. The most surprising thing to me is that the only company I could find that made that type of valve was American Standard. All the rest are valves that you rotate to turn on and control temp or you have to pull out to turn on and then rotate.
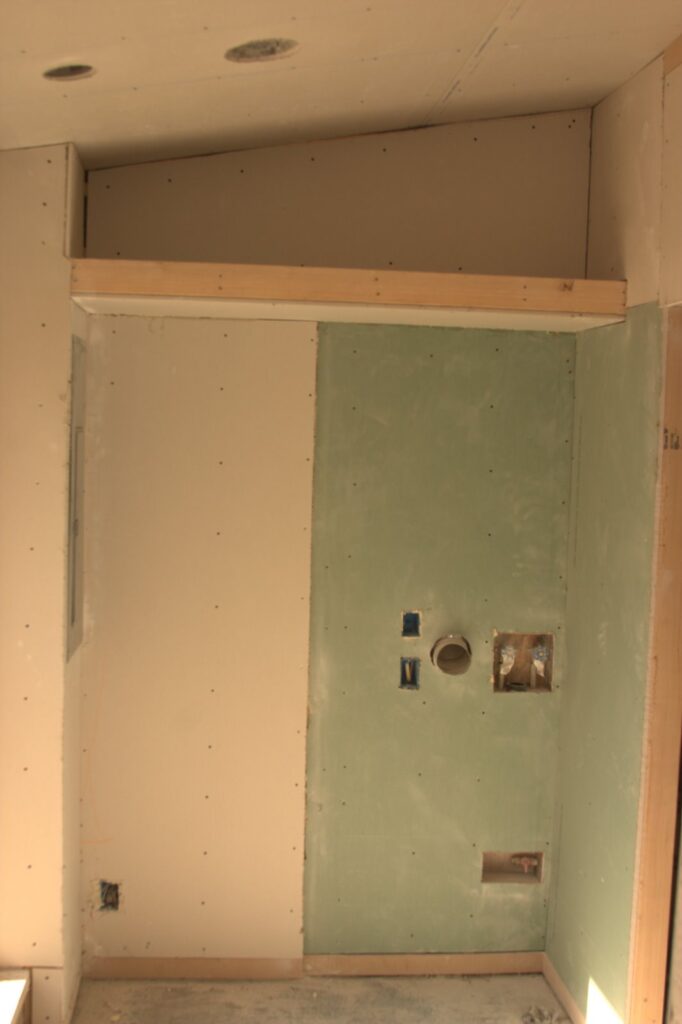
This repair was not to be a full remodel, just a patch for the time being. Someday, I’ll complete the remodel, but not now. So I wasn’t looking to get some sleek, modern, $300 valve and trim kit. Luckily, HD had just what I wanted at a price that was good enough for me. I got the American Standard Cadet series tub/shower valve and trim – $79. Then I started making a mess.
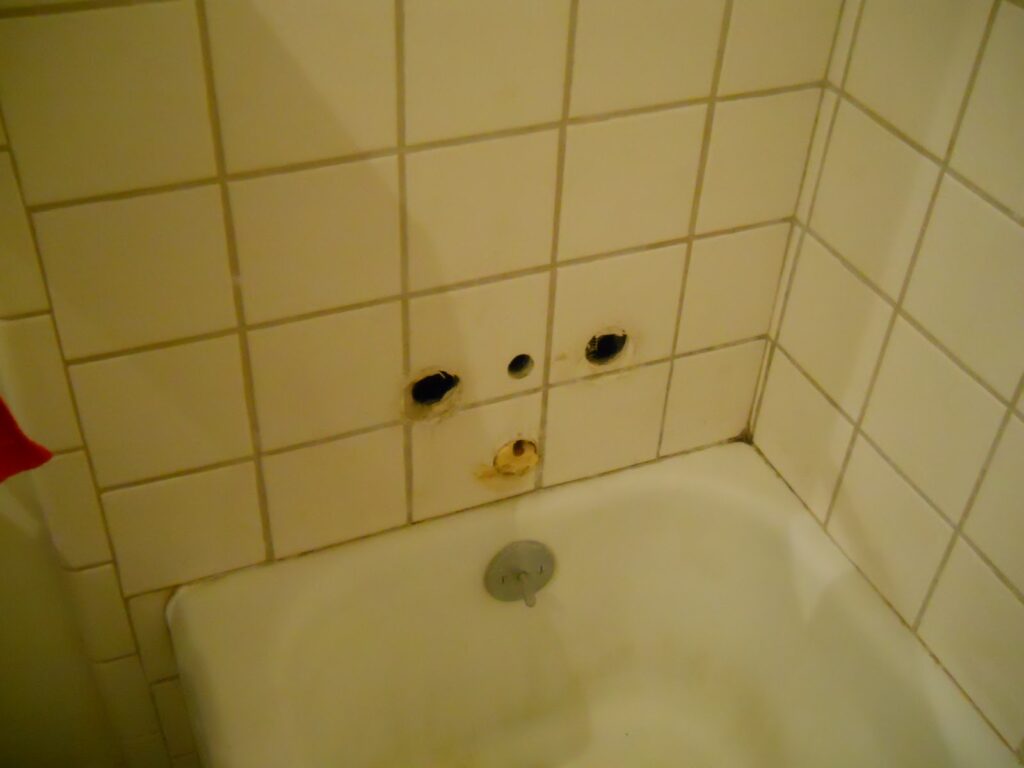
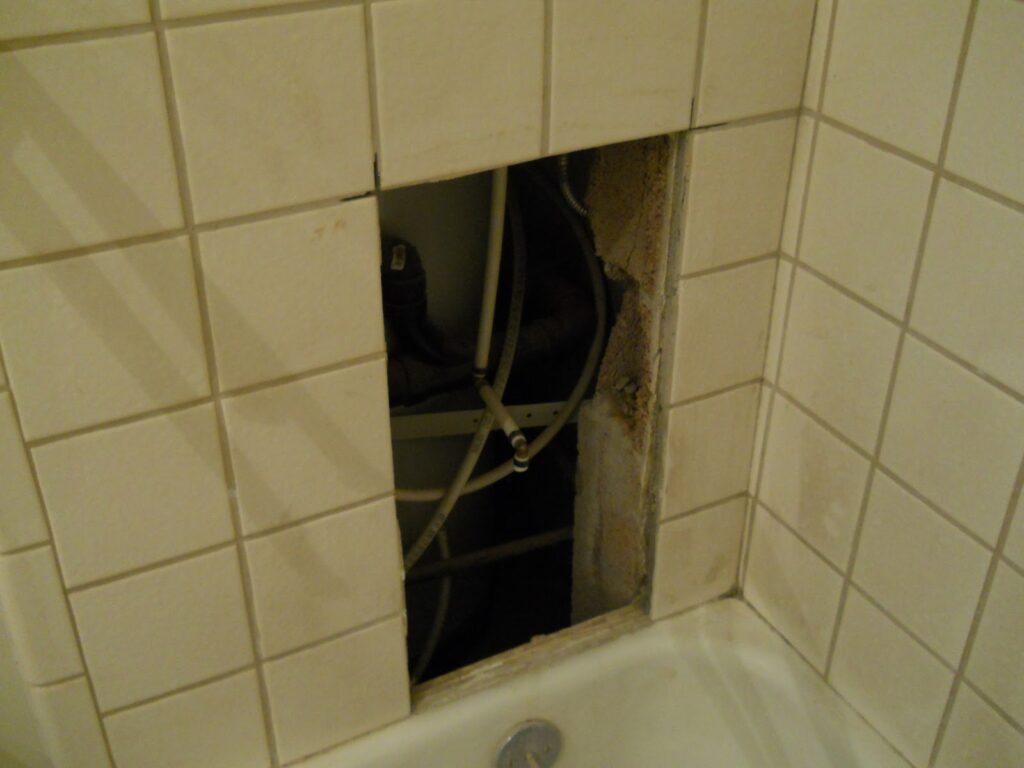
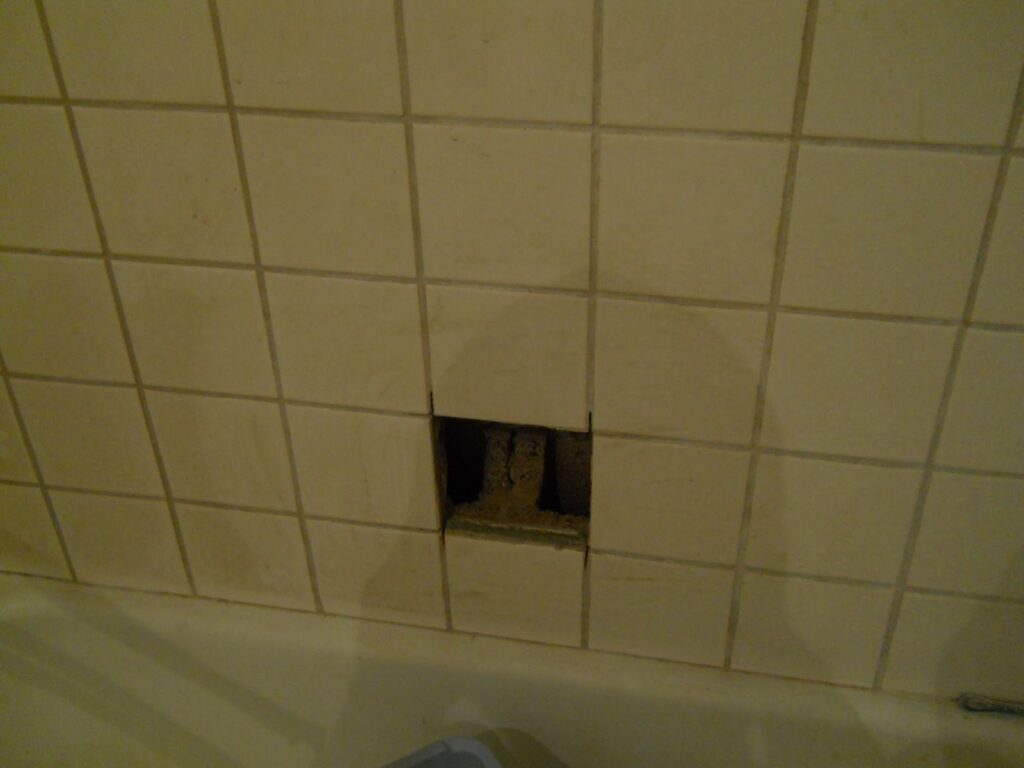
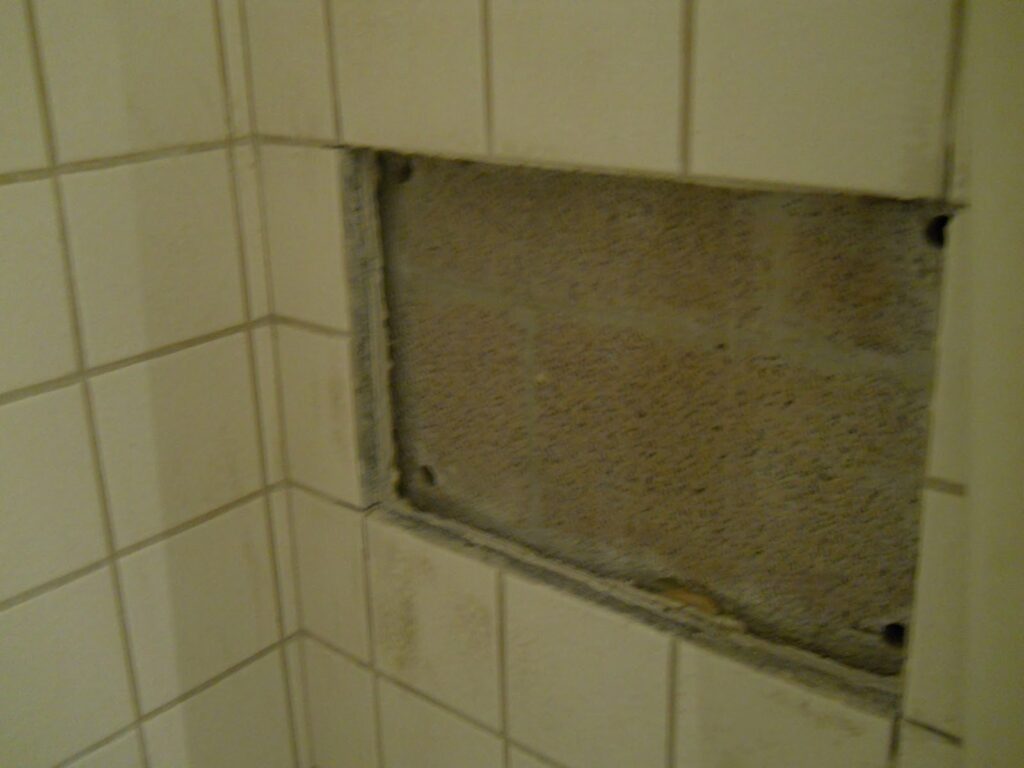
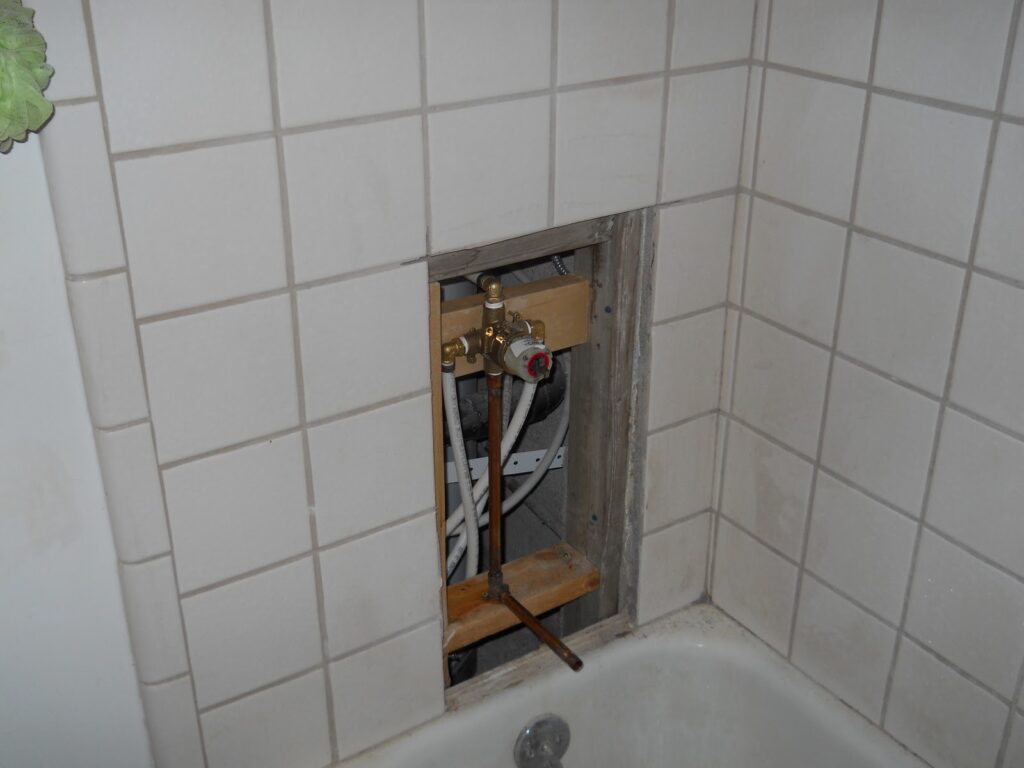
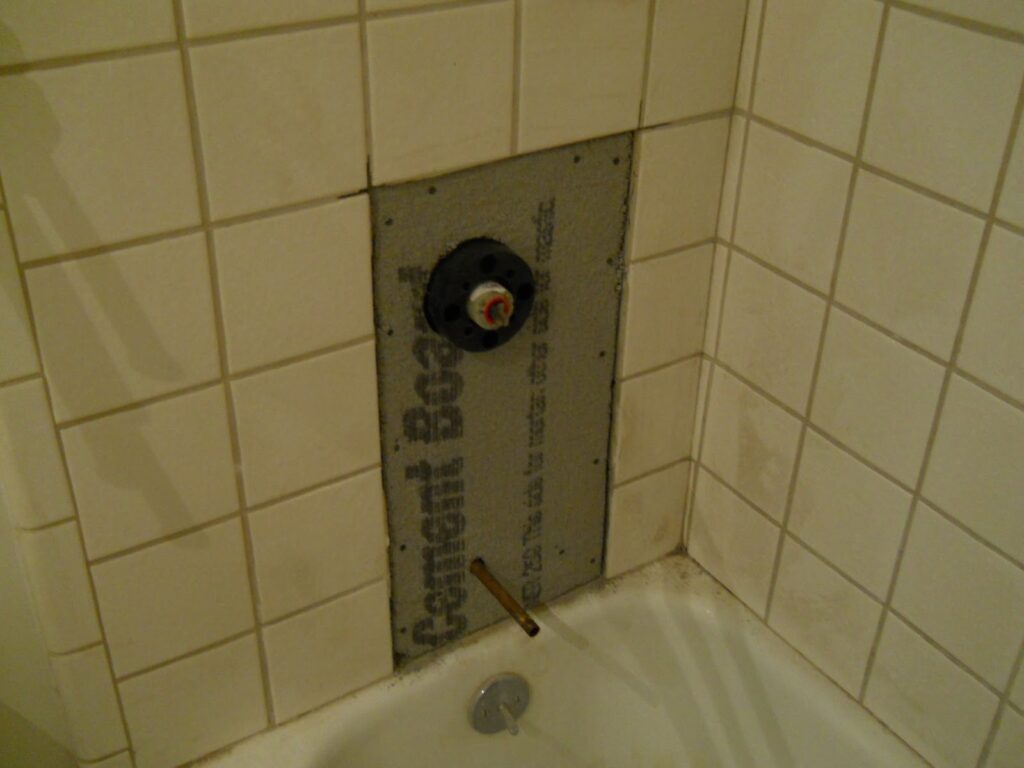
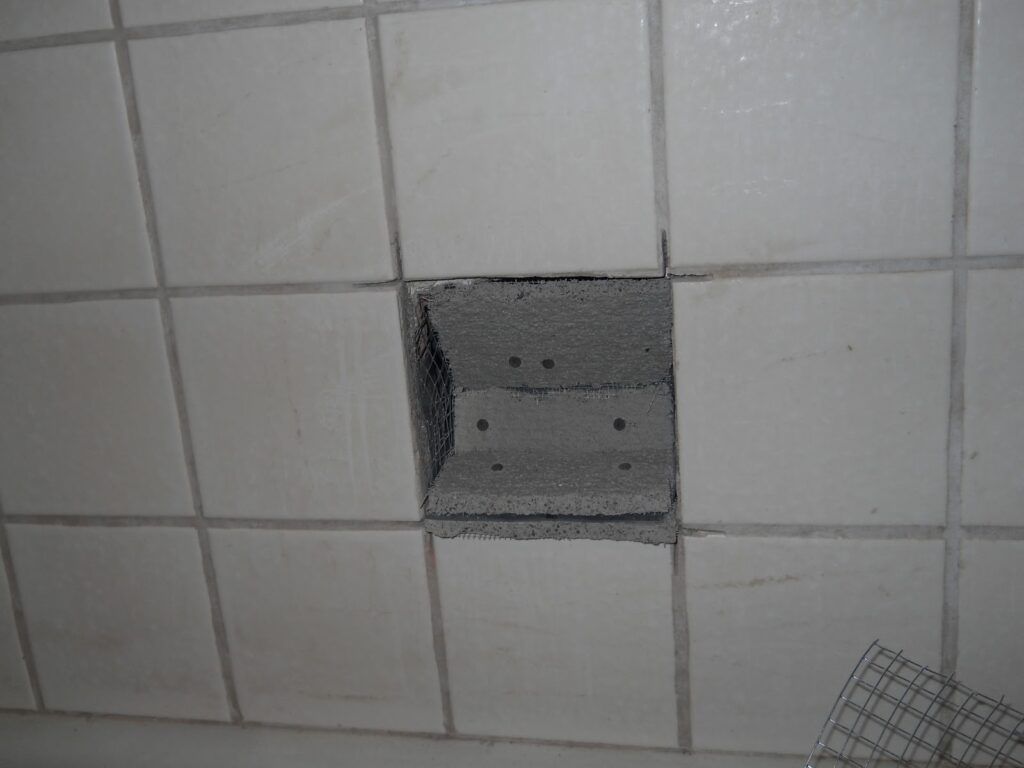
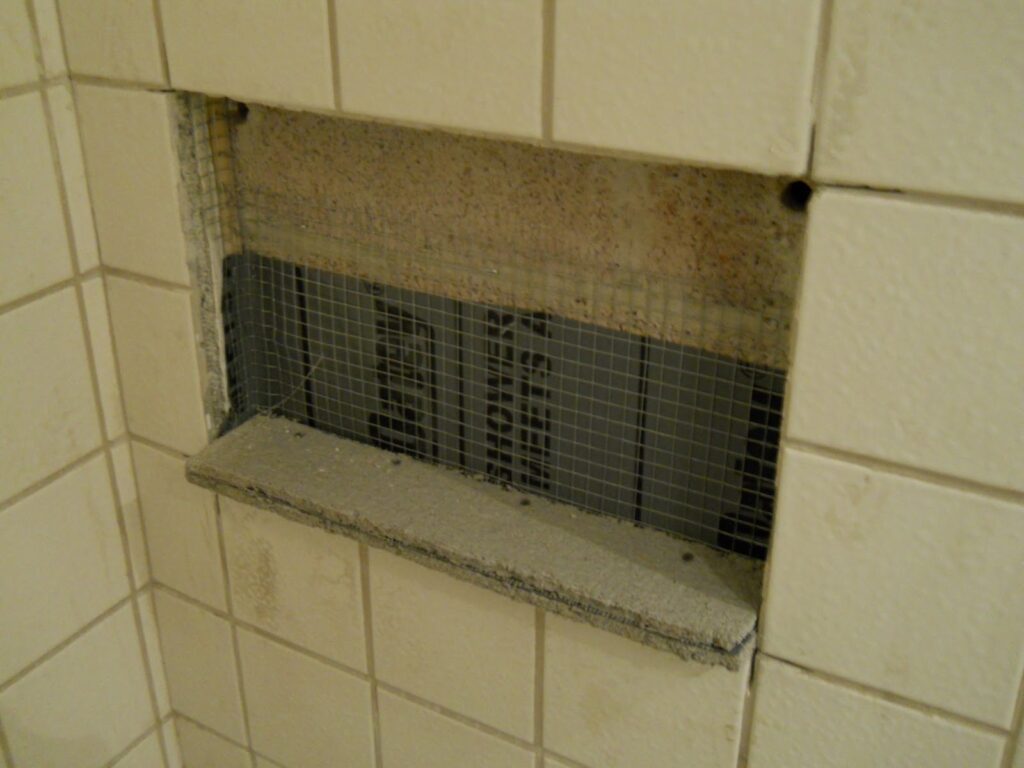
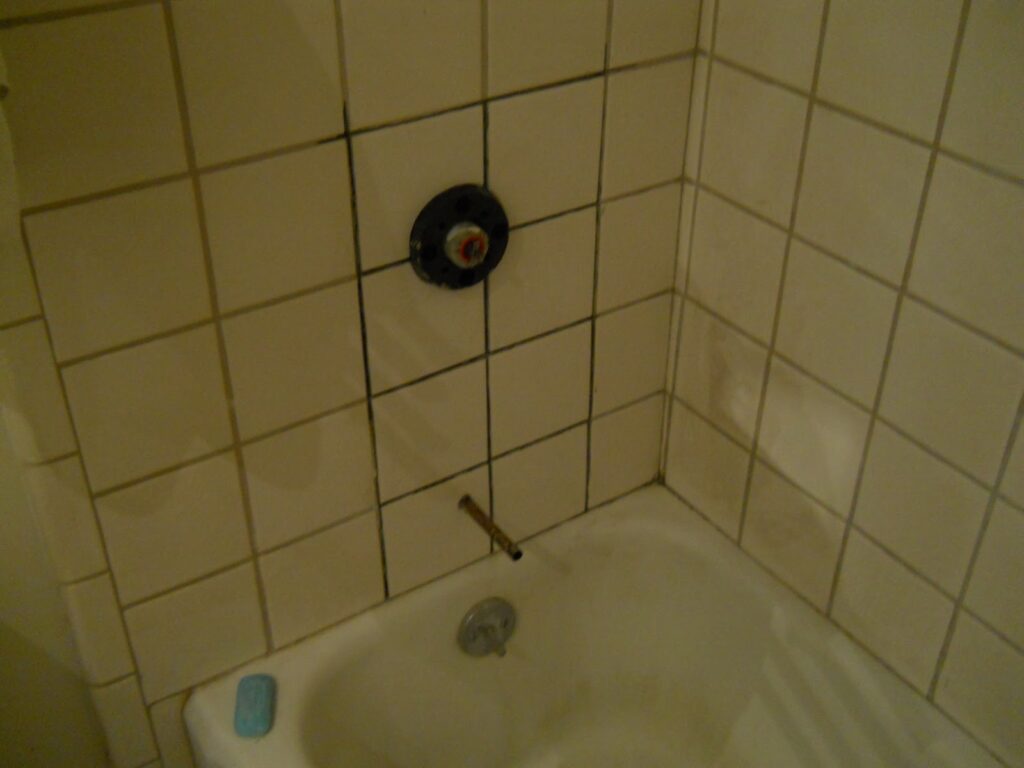
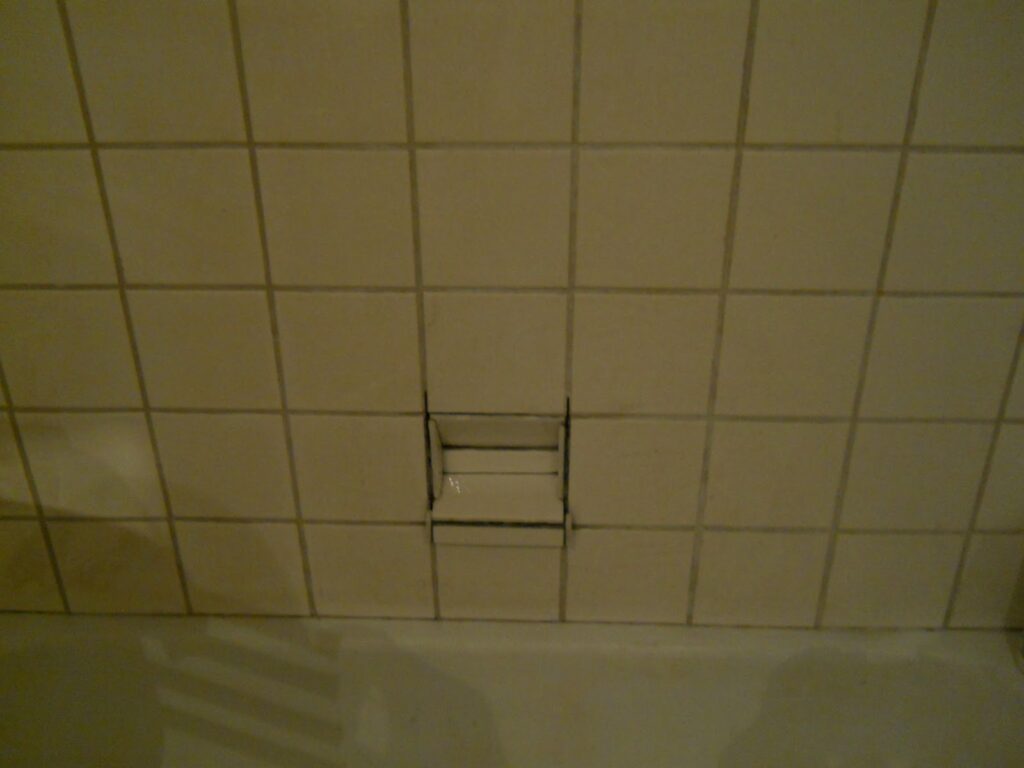
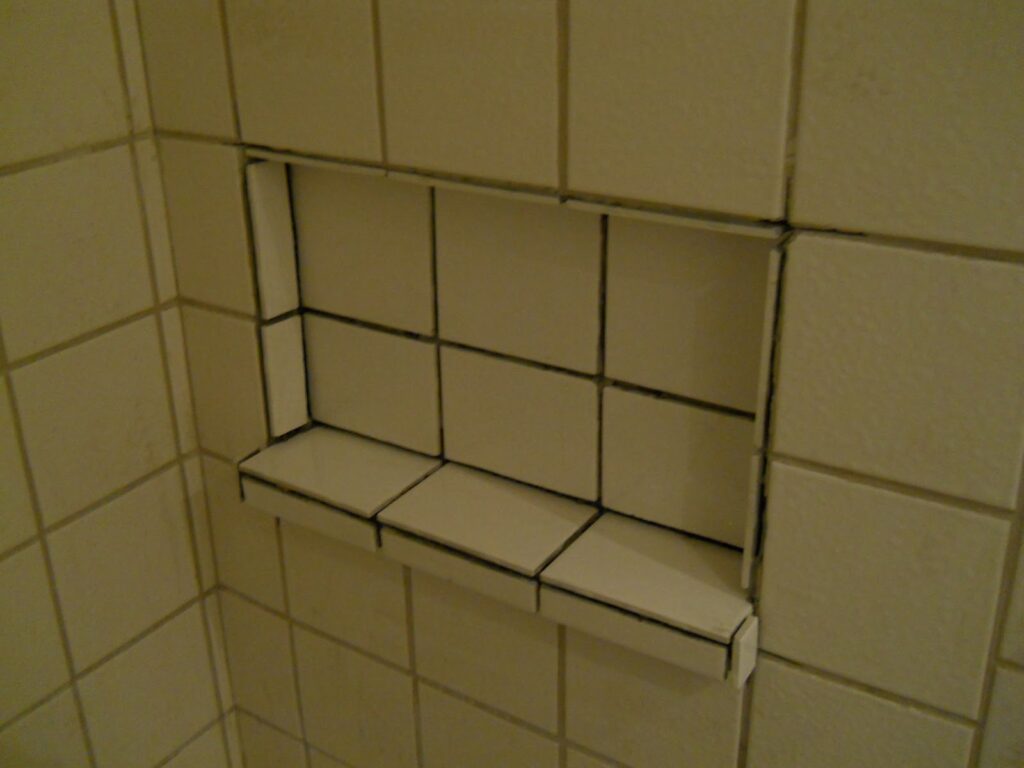
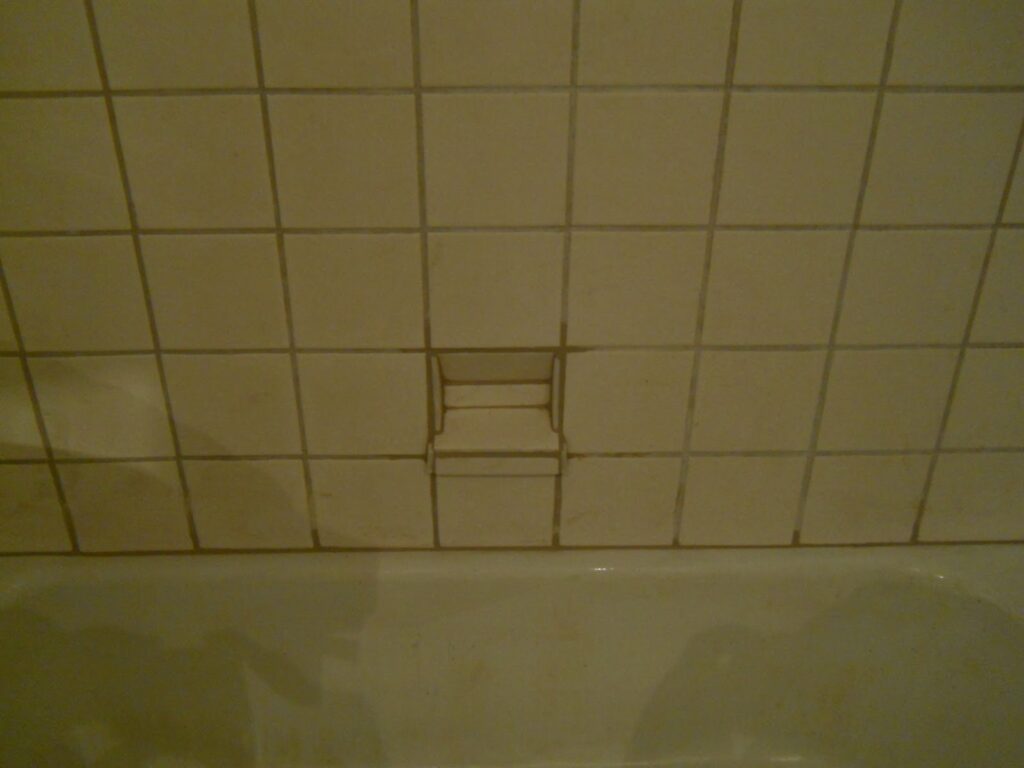
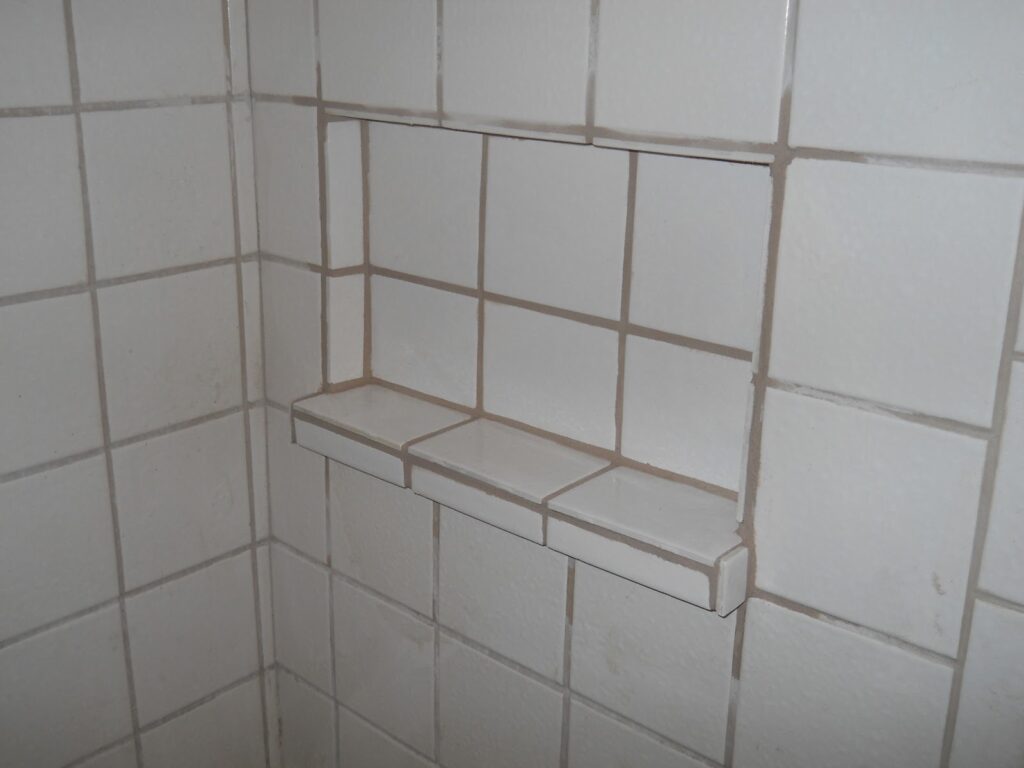
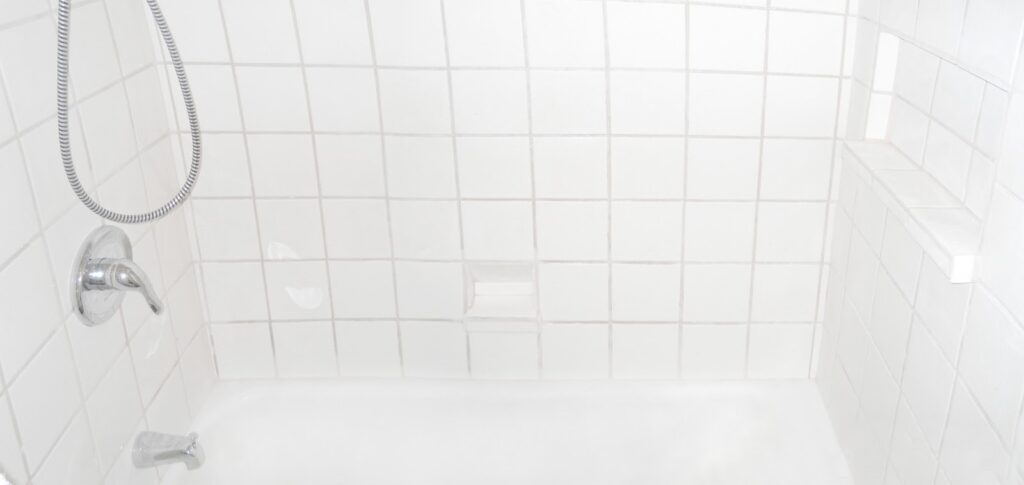
This project took about 4 days intermittently working on it from diagnosis to final clean. The plumbing manifold I made is a life saver for projects like this since you can cut water for just this one fixture. Has already been useful several times. On a project like this it allows you to take your time without having to constantly turn on and off the water at the main and worrying about disrupting wash cycles or anything.
The real lesson though is to not buy cheapo no-name fixtures unless you’re positive you can get the parts easy. Although everything’s nice and secure and what not, if I could have gotten a cheap part to do a quick fix, would I have just fixed it? You bet.
Project Parts and Costs:
Valve and trim – $79
Tile – $8
Mortar and Grout – Had some leftover
Threaded/ pex 90s – $10
Copper 90 with anchor – $4
Threaded copper ends and copper pipe – had some leftover
Teflon tape – had some leftover
40 mil PVC sheet – had some leftover
Wire mesh – had some leftover
Cement backer – had some leftover
Masonry anchors – had some leftover
2×4 wood for framing – had some leftover
Screws – had some leftover
Clear silicon caulk – had some leftover

