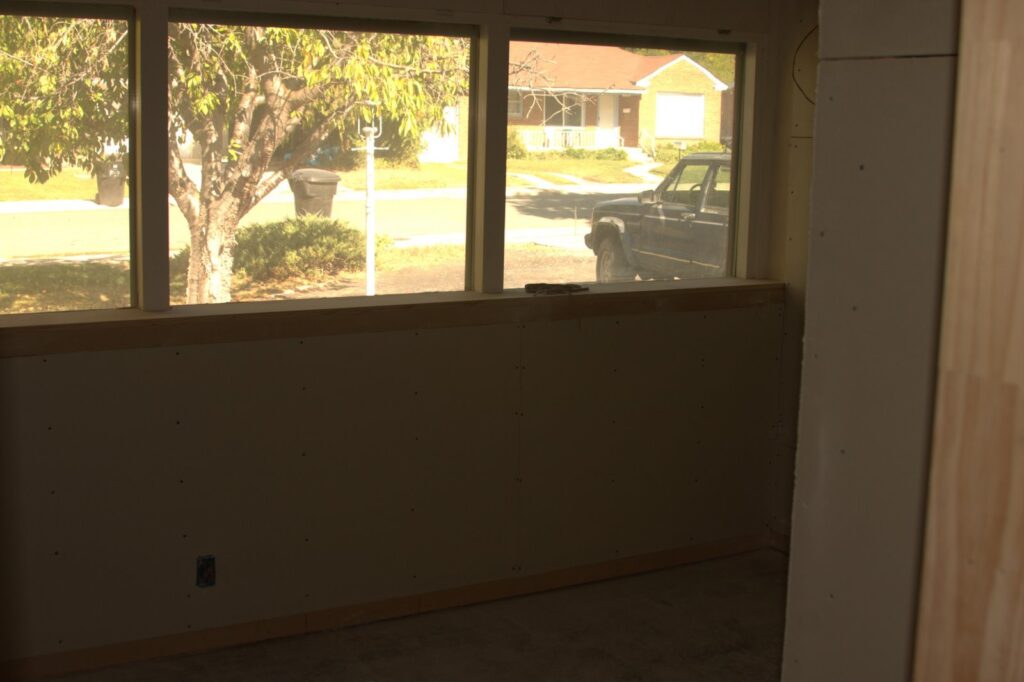
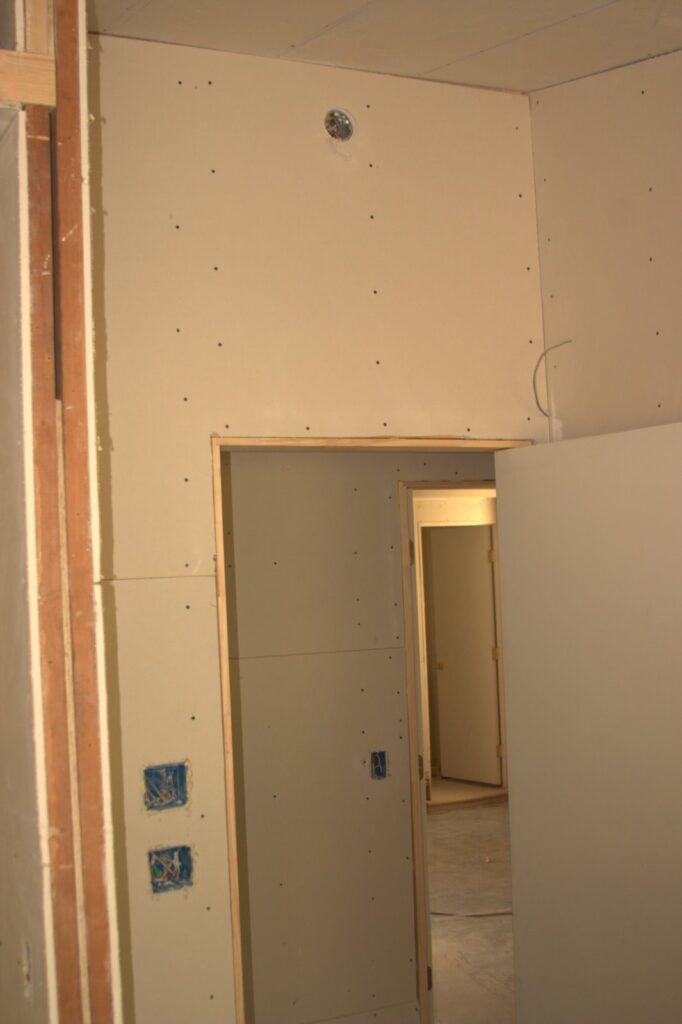
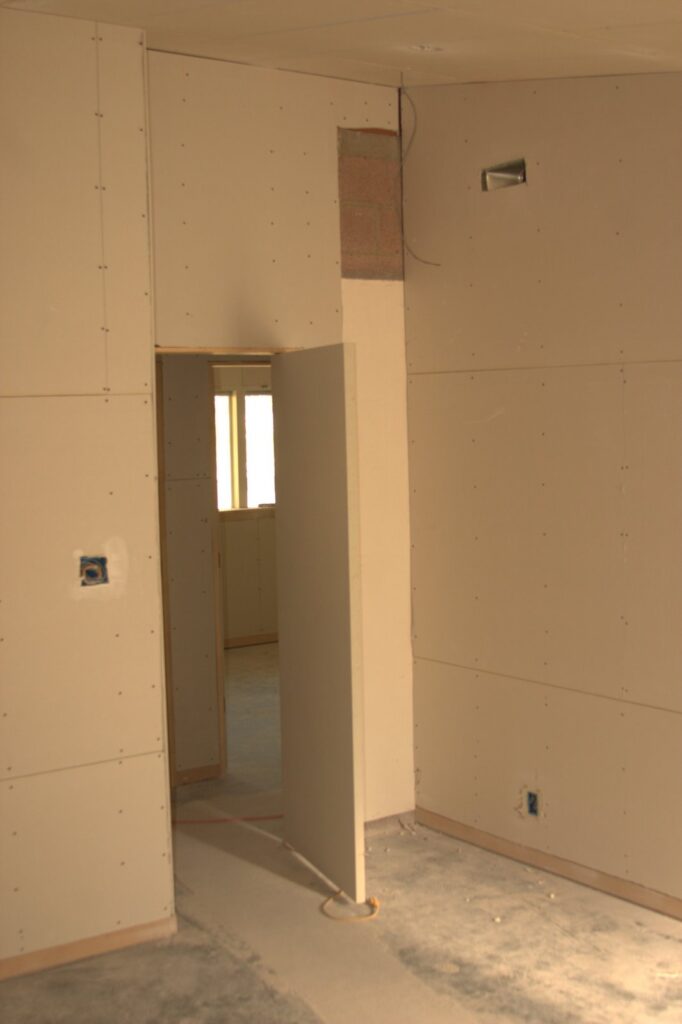
Things I Wish I Had Done Different

This is a list of things I wish I could go back and make sure to get right the first time.

The first one kills me, it bugs me nearly every week and is the only problem so unique that I likely will never ever run into it ever again. The air ducts in the home are out of concrete masonry under the floor. This one is so bad it would have pushed me into not buying the home or tearing it down. The problem is turbulence and cleanliness. Too much of the first, too little of the second. I was able to get a camera down there and it just gives me the ewehha!!!

INSULATION- I had the walls ready for insulation to be sprayed over the existing walls and I let the stupid insulation installer talk me out of it. General rule #1- If you’ve done your research and know what your talking about, don’t let some idiot talk you out of it. Hardly any more money and would have made the walls a lot more bearable. Give me the “stupid hat.”

Matte paint. This one is hard to admit, but if you want matte paint, you need to figure touch-up every year, not cool. I like the look, but I hate every freaking time anything rubs against it, a noticeable mark is created.

Conduit. This is another told-you-so moment. I thought I had figured out exactly how to future-proof my home when I was wiring, or at least future-proof it for the next ten years. I was wrong. Run conduit.

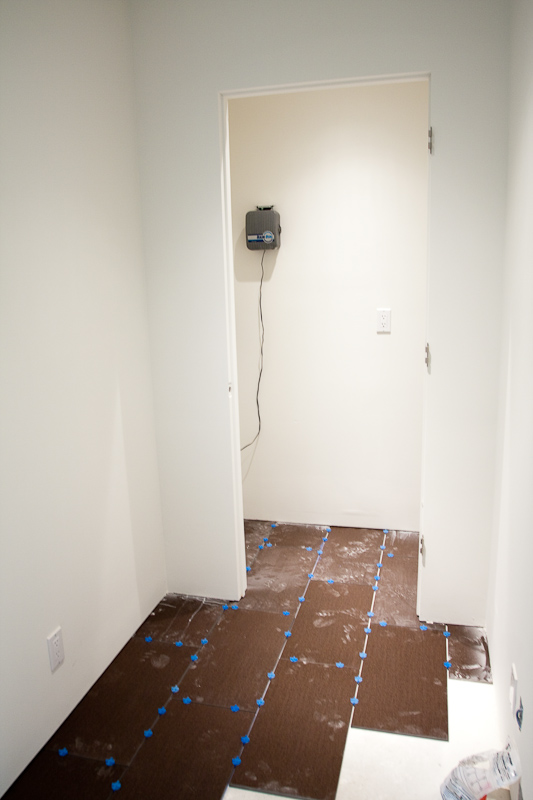
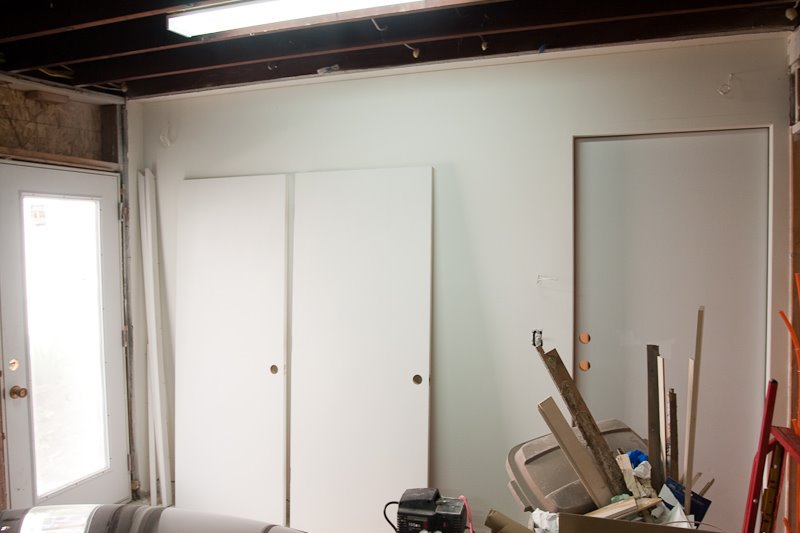
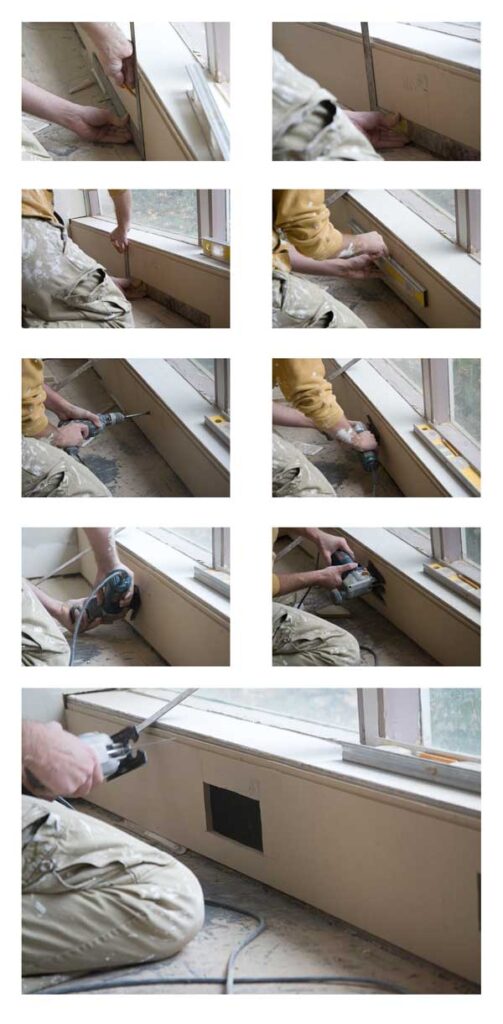
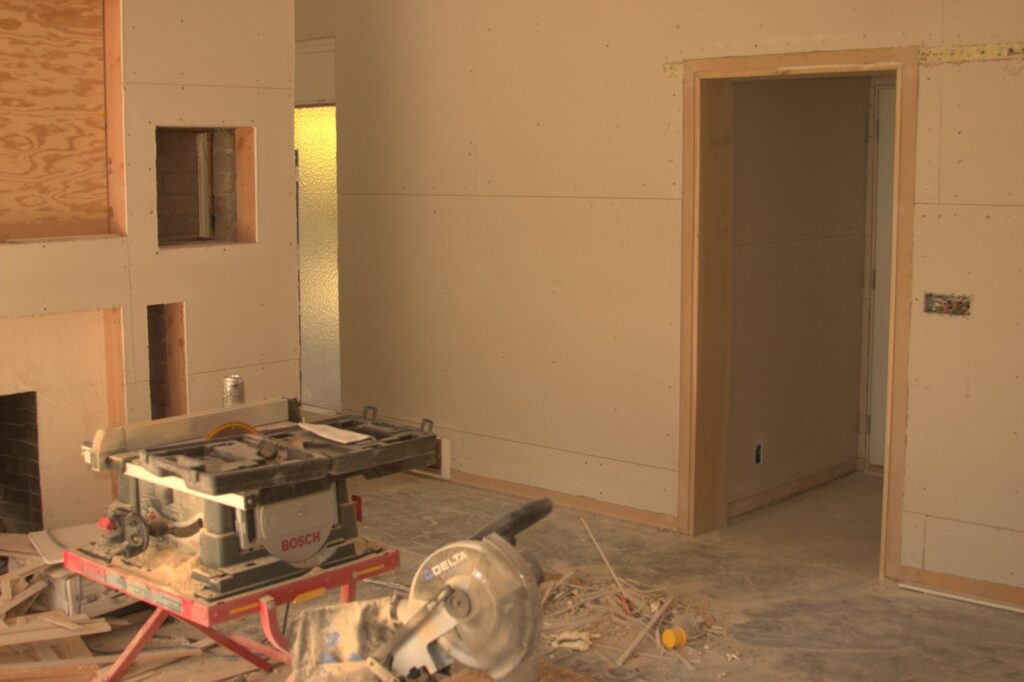
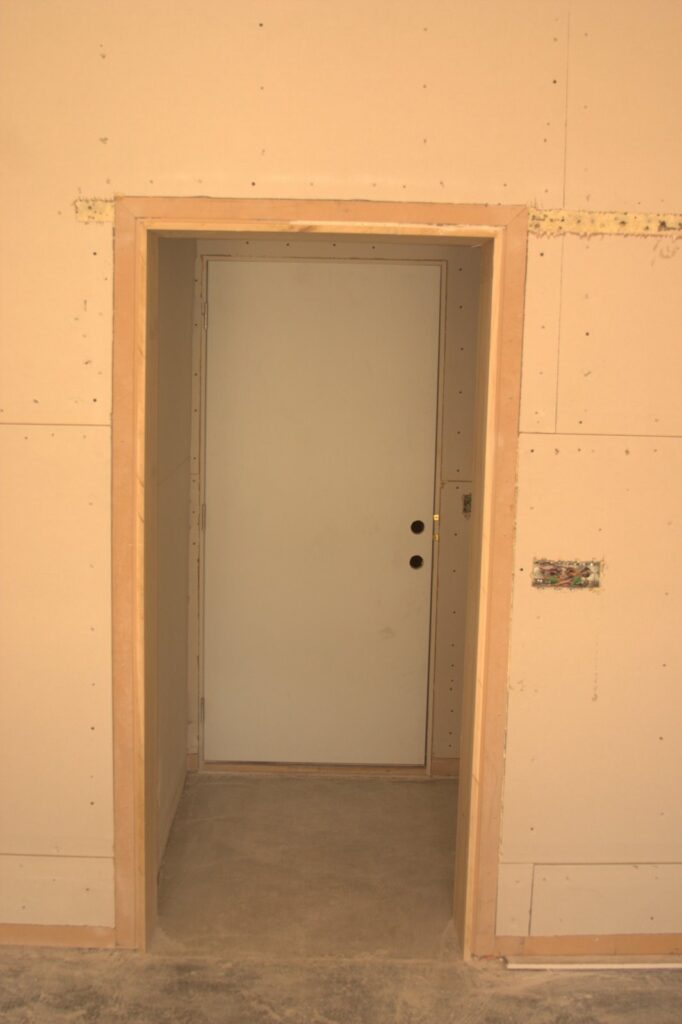
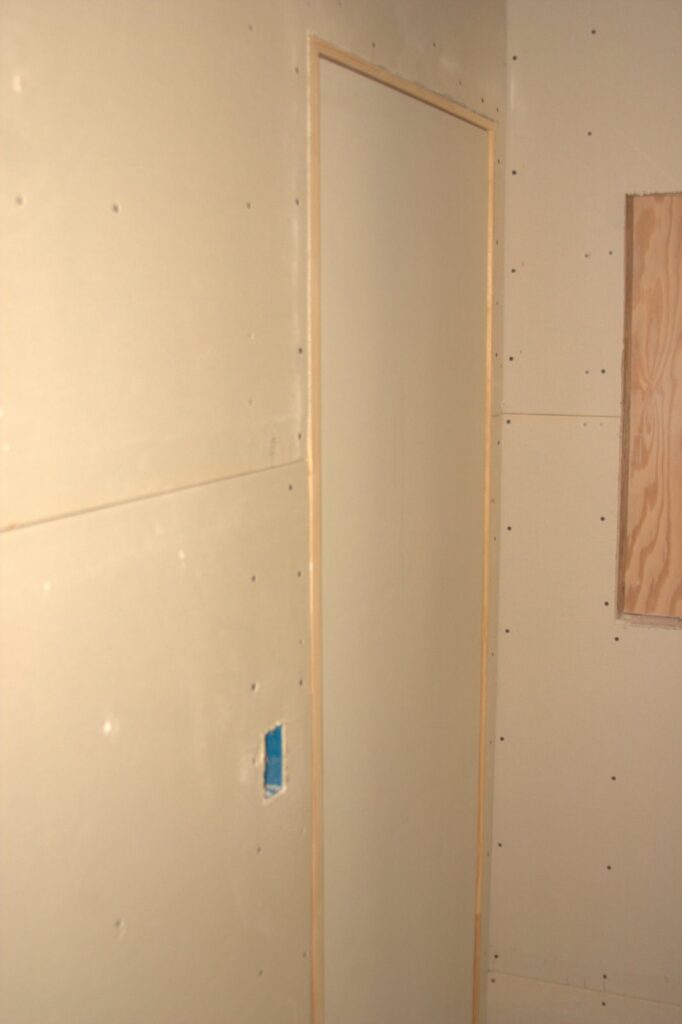
Prototype if you’re going to try something new. I wanted no baseboard or case in the home and to have the hall doors flush with the hall regardless of swing. I was so close to getting it all right. Mistakes with the baseboard- I still like the idea on the in-line base and case, but for the base, it needed to be cut with a recess for the tape and mud and also painted so the mud wouldn’t cause any expansion when applied. The case on the other hand needed to have a purely mechanical joint instead of trying to use mud at all- though juries out because I’d have to prototype. However, now a days, I wouldn’t try to make the base disappear, I’d throw stained and sprayed base inline still with a metal groove between it and the drywall – that looks sweet. I did protype a door in our home theater that I wanted to match the wall texture without the texture possibly breaking off and that turned out awesome!

Learn how to braze. I installed a line-set for the HVAC and from what I understood at the time, sweating the pipes was the way to go, but it just isn’t. The problem is, I’m locked into using R-22 (the old stuff) or have to redo the line-set. Nifty-spiffy. Although, I still like the look of sweated copper pipes over brazed for plumbing, I never would have liked the manifold if it were brazed so for plumbing I thinking brazing is a bit of overkill.

Lacquer- I’ll admit, for whatever reason lacquer intimated me. I thought I’d use it, but was kind of looking for reasons not to, I think I had bad memories from high-school shop or something. With all the maple in the home, I was terrified that if I sprayed lacquer, it would all turn a horrible shade of yellow eventually. A couple articles I read mentioned a water based acrylic as the answer. I used it everywhere, even sprayed it. Let me tell you, the maple is still yellowing and the finish just doesn’t look as good as if I had used a clear lacquer. I think the best advice is just to stay away from all clear finishes you can buy from HD or Lowes… They’re just crap.

If you’ve got a good thing going, keep going. I liked the way I did the closets in two of the rooms and inexplicably changed the closet in the other room… it just doesn’t work, and I feel like I’m eventually going to have to change it to match.

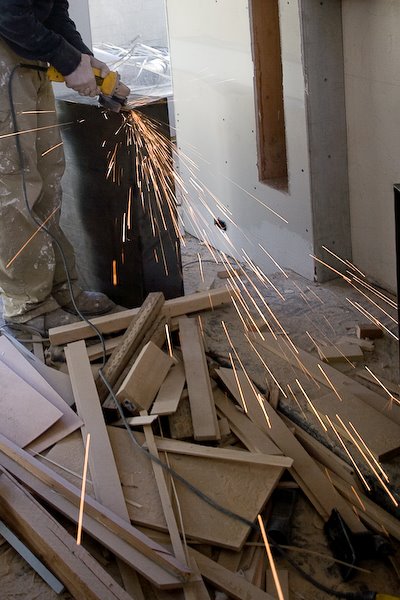
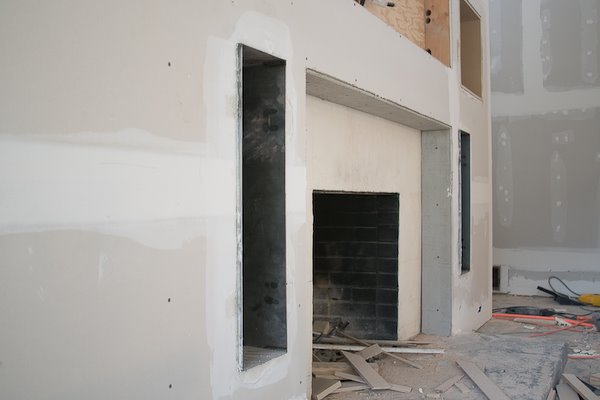
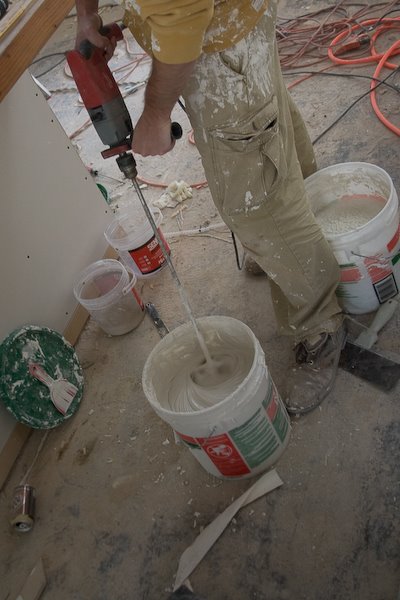
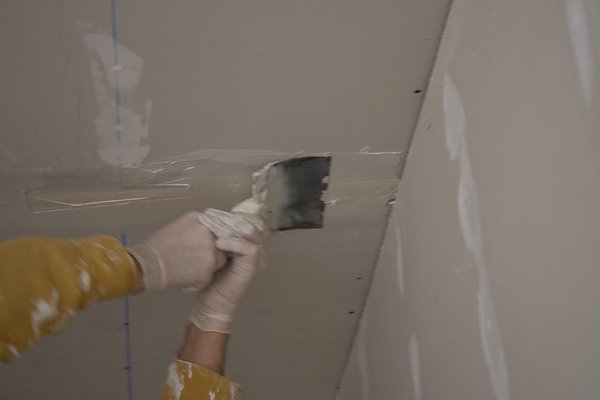
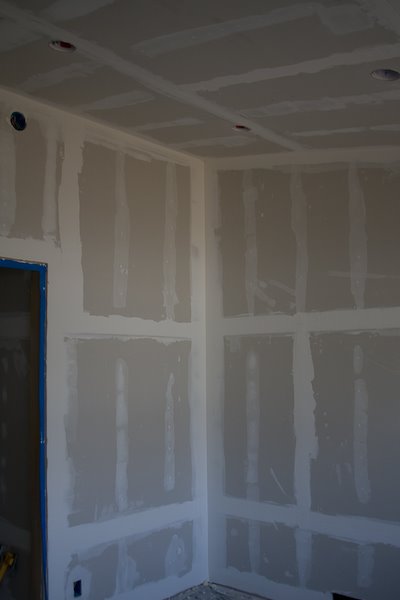
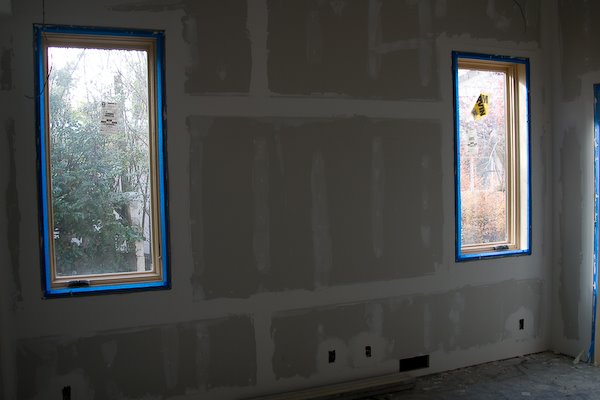
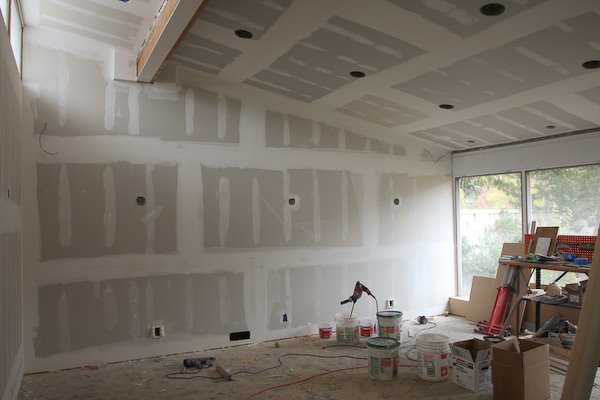
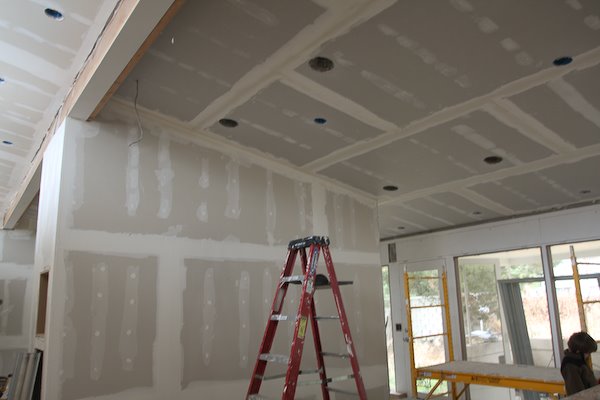
Buy an eight foot level and get the walls perfectly flat. It’s very easy to use cardboard strips to even out the hills and valleys before drywall, not so much with mud after. Also when mudding, I found the smoothest joints come from taping, then one heavy coat with something straight and inflexible and then one finish coat. Hey maybe I don’t have some magical drywall skill, but for me it works and is way faster than trying to fill the areas with regular trowels for everything.

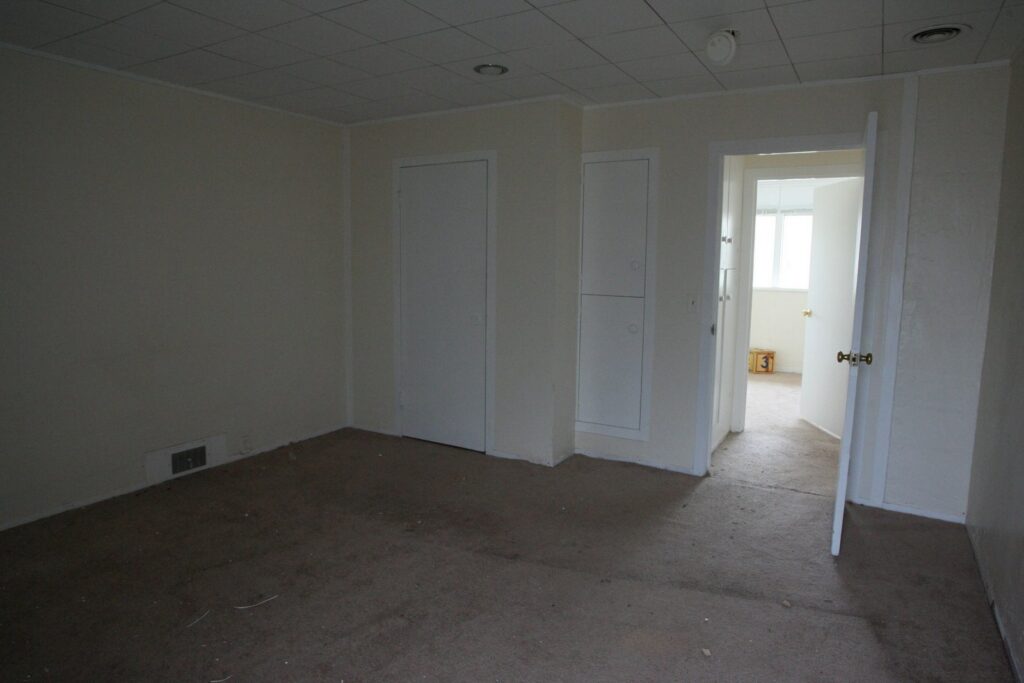
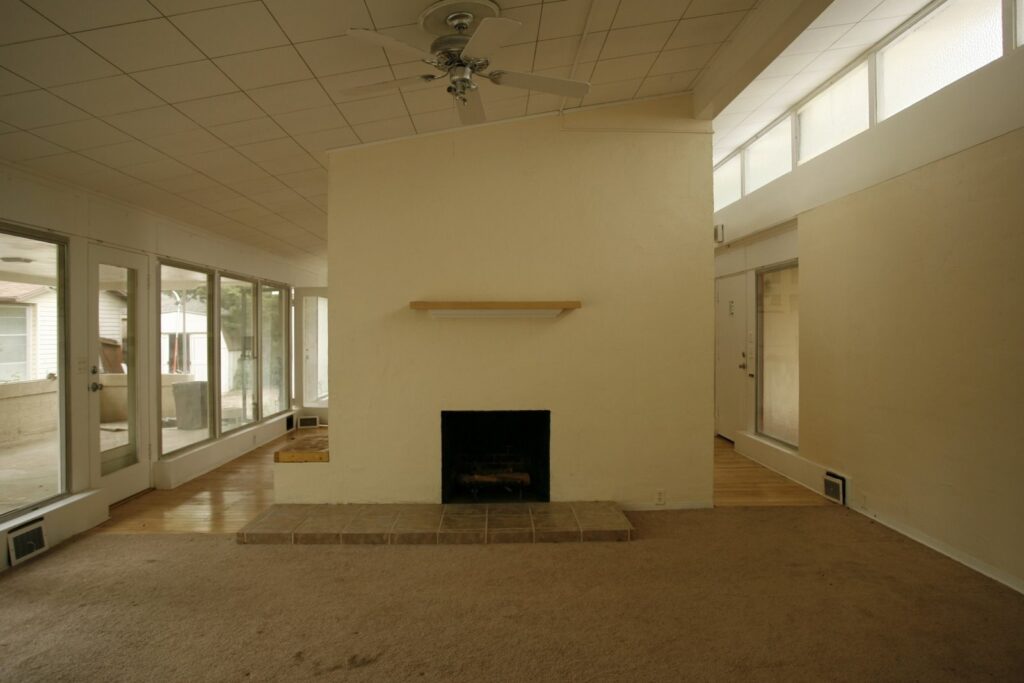
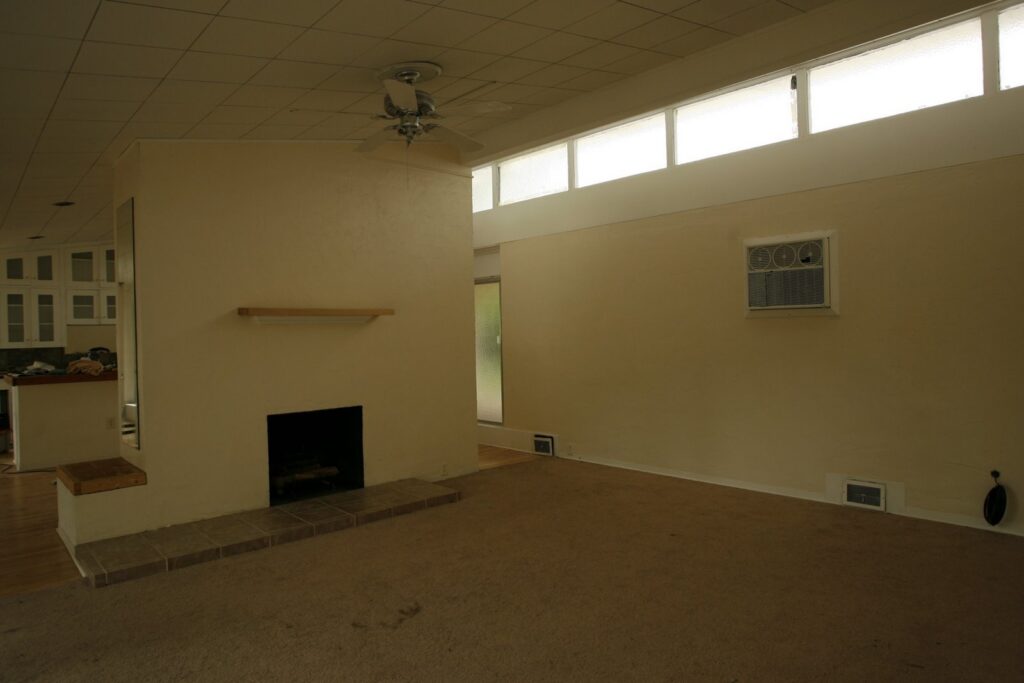
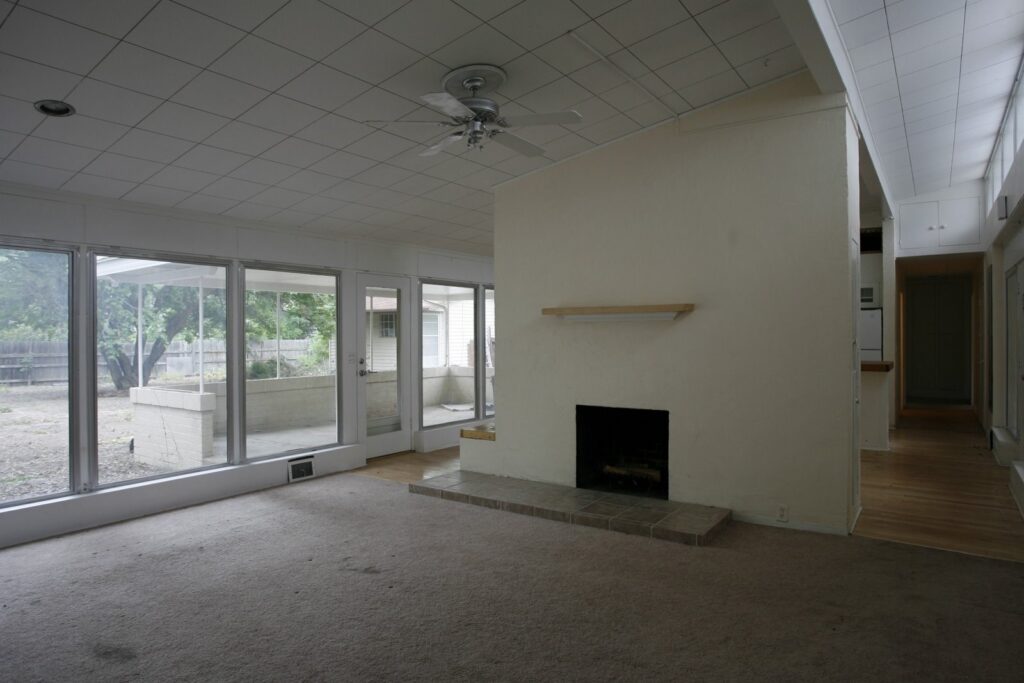
Carpet is a dirty business. Talk to an interior designer, they can help you get the quality you want. It’s just one of those things, you screw up, you’re stuck with for a long time.

The Shower Fixture

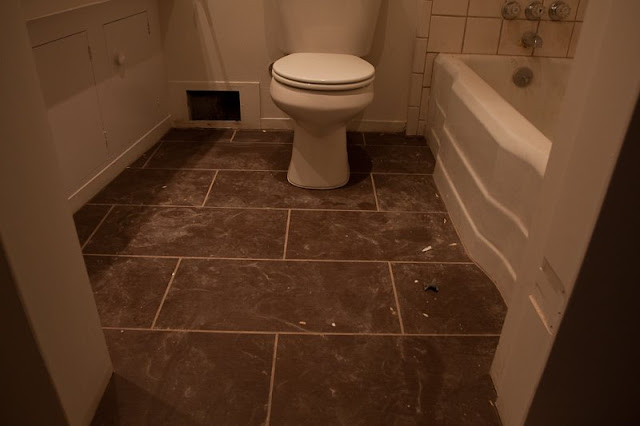
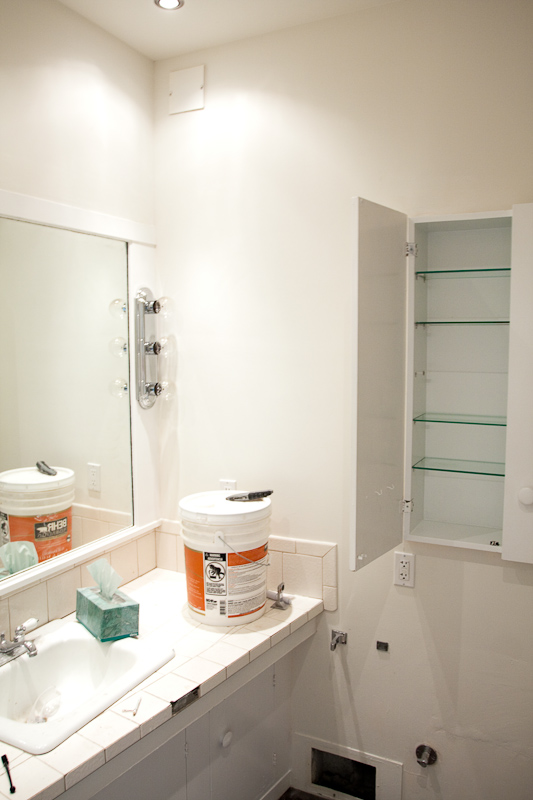
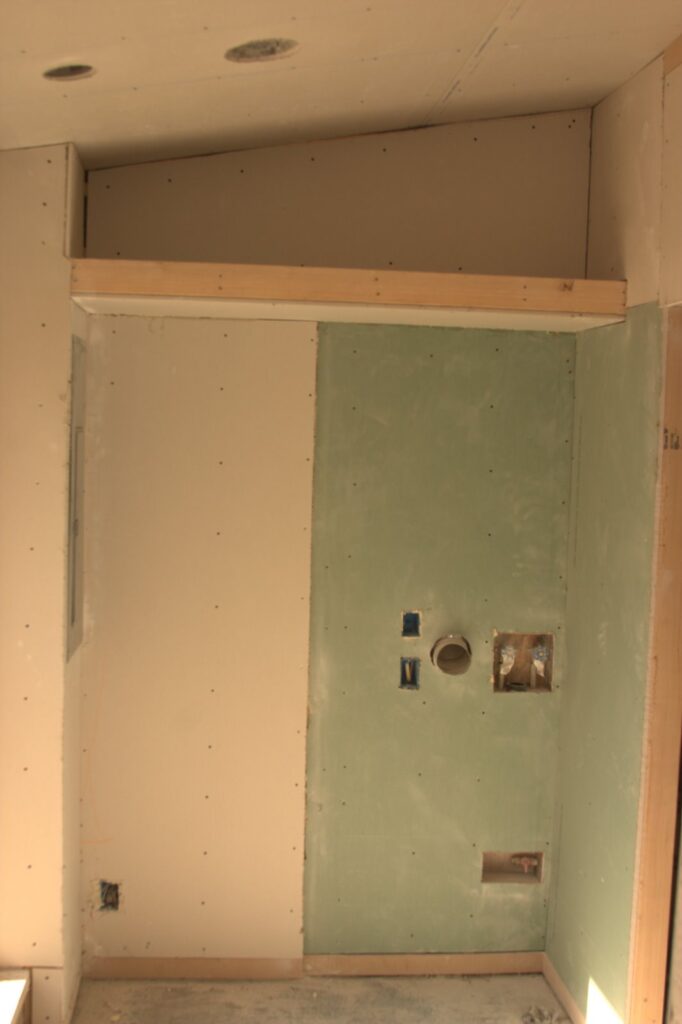
Both baths stood out negatively when we bought the home. Both had work done on them recently, but each shared a certain degree of shoddiness in craftsmanship, but in totally different ways. Since the work was recent and functioned for the the most part, they were pretty far down on my list of things for a full makeover. In the master, all I added was a wall heater, thermostat, new switches and covers for the electrical – mostly because I plan to tear it off and build a more complete bath sometime. In the hall bath, I raised the ceiling, changed return duct work, all new electrical, changed the lighting, new floor tile, new vent, new water lines, new sewer waste and vent (come to think about it, why didn’t I just tear everything out?). I left the cabinets, tub, fixtures, and also the cheapo tile around the sink and bath/shower alone.
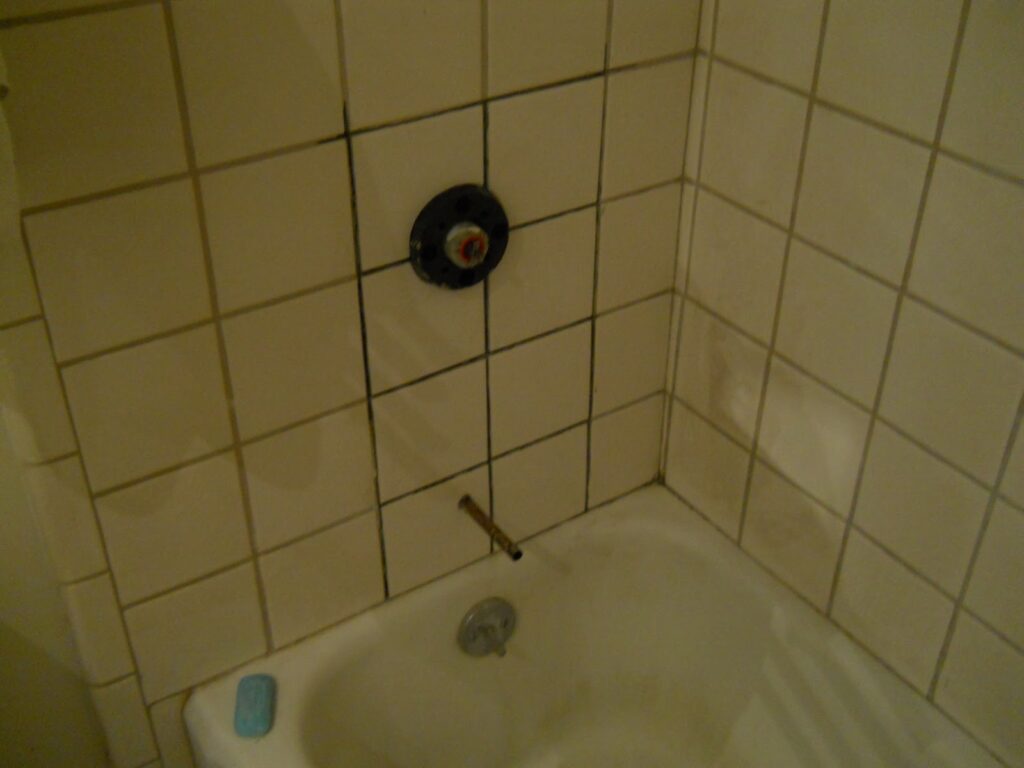
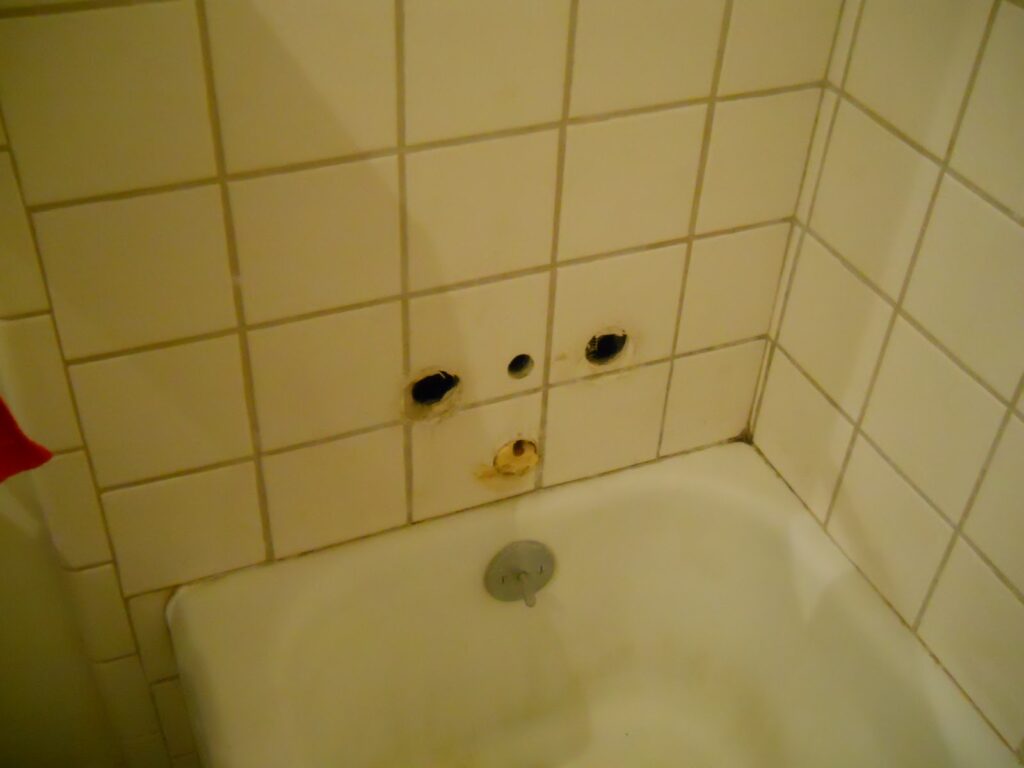
As much as I’ve wanted to leave them alone, both baths have been slowly working their way up my priority list, until this last week when one shot to the top. Since day one, the hall shower/bath fixture has bothered me. The fixture holes were poorly cut… at least for the current fixture. The fixture itself was not secured to anything but the plumbing pipes and then sandwiched against the wall with the little decorative bits around the handles and the tub spout- so it felt loosey goosey. Also, the cold water valve had a small leak from day one- drip, drip.
This week, my kids told me that the water was no longer working properly. As it turned out the diverter valve that you use to send water to either the shower or tub was leaking badly.

I opened the valve to do a quick check and see the damage. The valve had a boot gasket inside that was shredded.

I first had to find the make of the fixture. I had noticed that the brand was not plastered in large letters on the handles or really anywhere like you almost always see. The only thing I could find were the letters ccf on the valve itself. I thought this was a model or something, but no, it’s a company called Chung Cheng Fixtures. That was the first sign of things to come.

I did some calling around and after describing the gasket, I got nothing. I took the gasket to the plumbing desks at a couple plumbing stores and none had ever seen the like. By this time I had realized that even if I could find the parts, it wouldn’t just be the gasket and would probably cost half as much as the total fixture did. Also, if I was going to spend the money and get a new fixture, I didn’t want to replace the fixture with another three handle fixture… I’m not a fan.

My personal favorite for shower fixtures are single handle ball valves with tilt on/off. The most surprising thing to me is that the only company I could find that made that type of valve was American Standard. All the rest are valves that you rotate to turn on and control temp or you have to pull out to turn on and then rotate.

This repair was not to be a full remodel, just a patch for the time being. Someday, I’ll complete the remodel, but not now. So I wasn’t looking to get some sleek, modern, $300 valve and trim kit. Luckily, HD had just what I wanted at a price that was good enough for me. I got the American Standard Cadet series tub/shower valve and trim – $79. Then I started making a mess.  

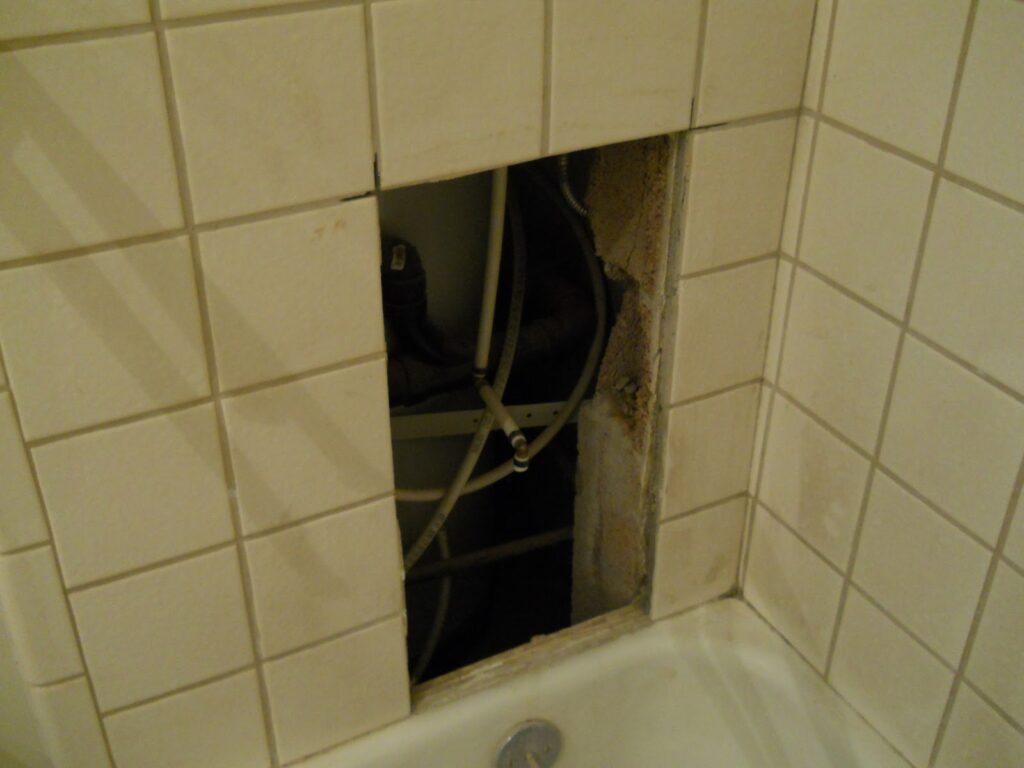
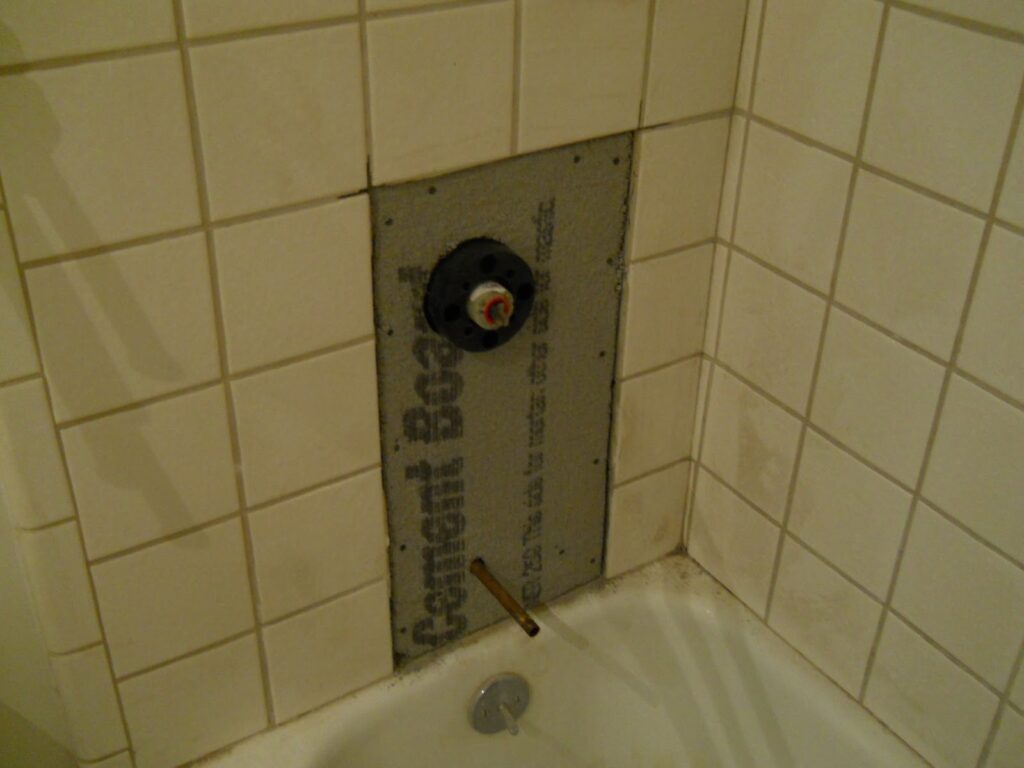
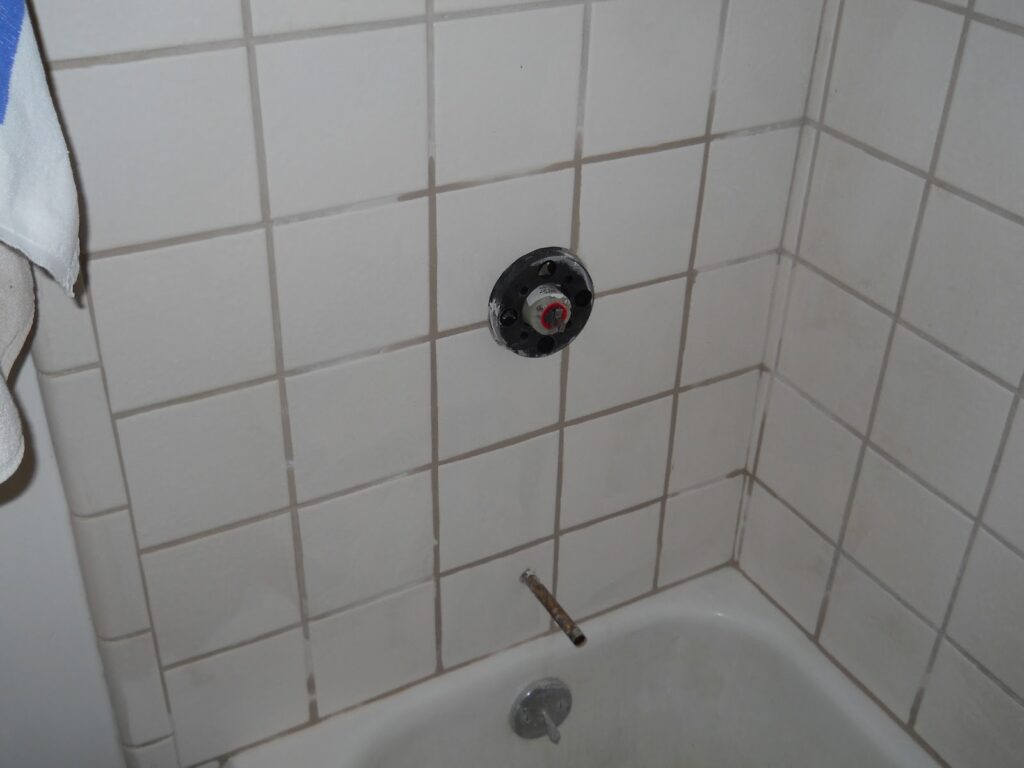
Here’s where the old fixture was. The holes were not entirely covered by the fixture, especially the bottom tub one
I cut out eight tiles as can be seen to raise the fixture up so that is easier to grasp when showering. To do this required cutting through the tile cement board and concrete block. Also here’s a do as I say and not as I do- put plywood over your tub so you don’t bung it up. I can’t say I really cared enough to cut plywood for the cover, but if you do, now you know.
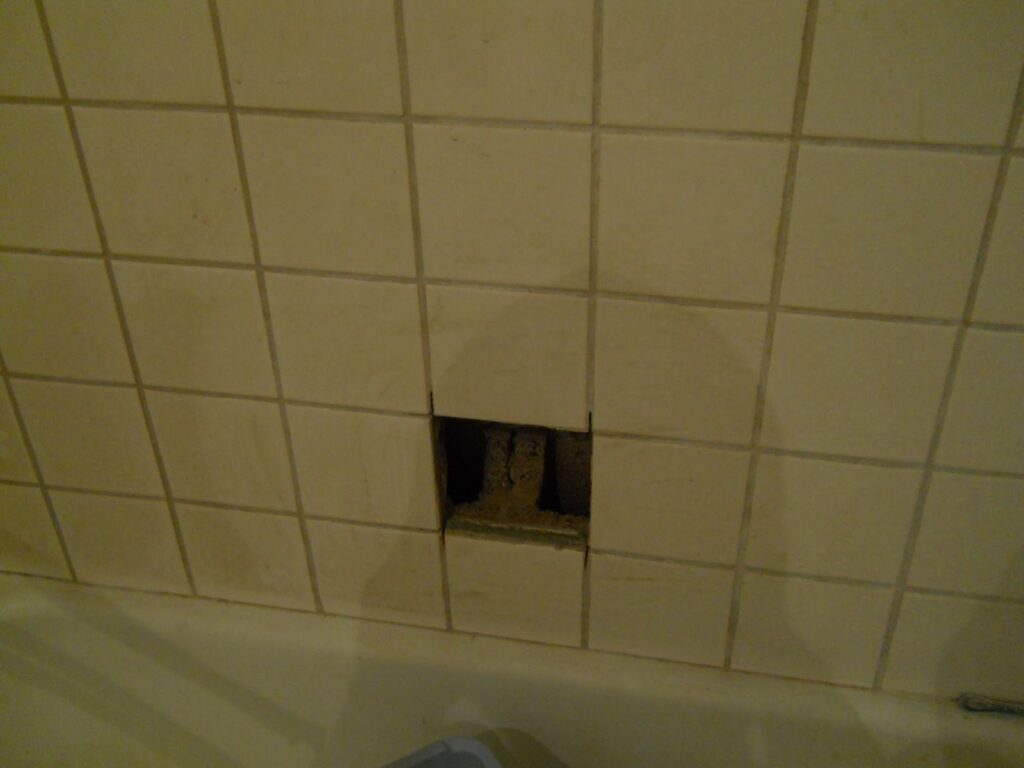
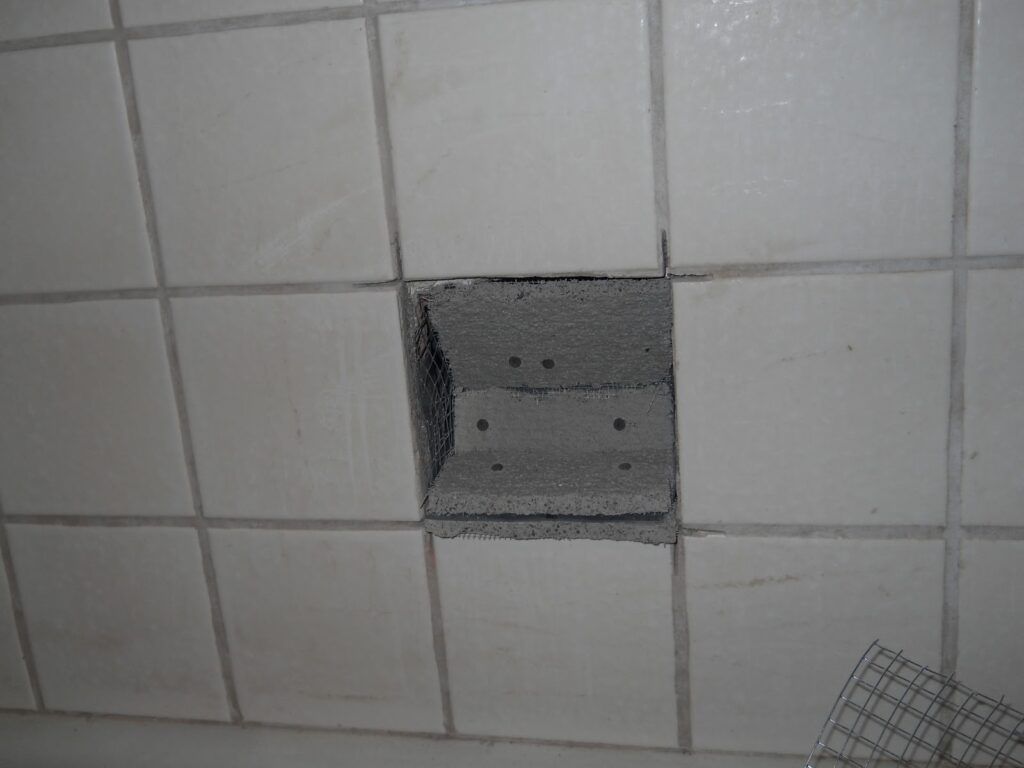
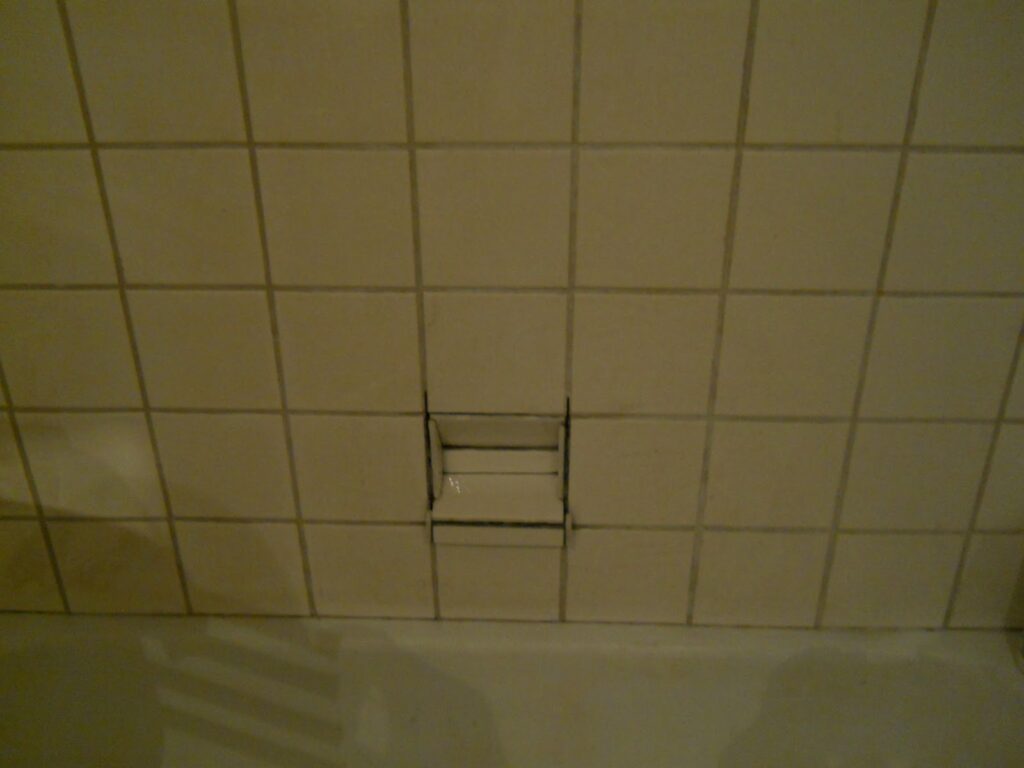
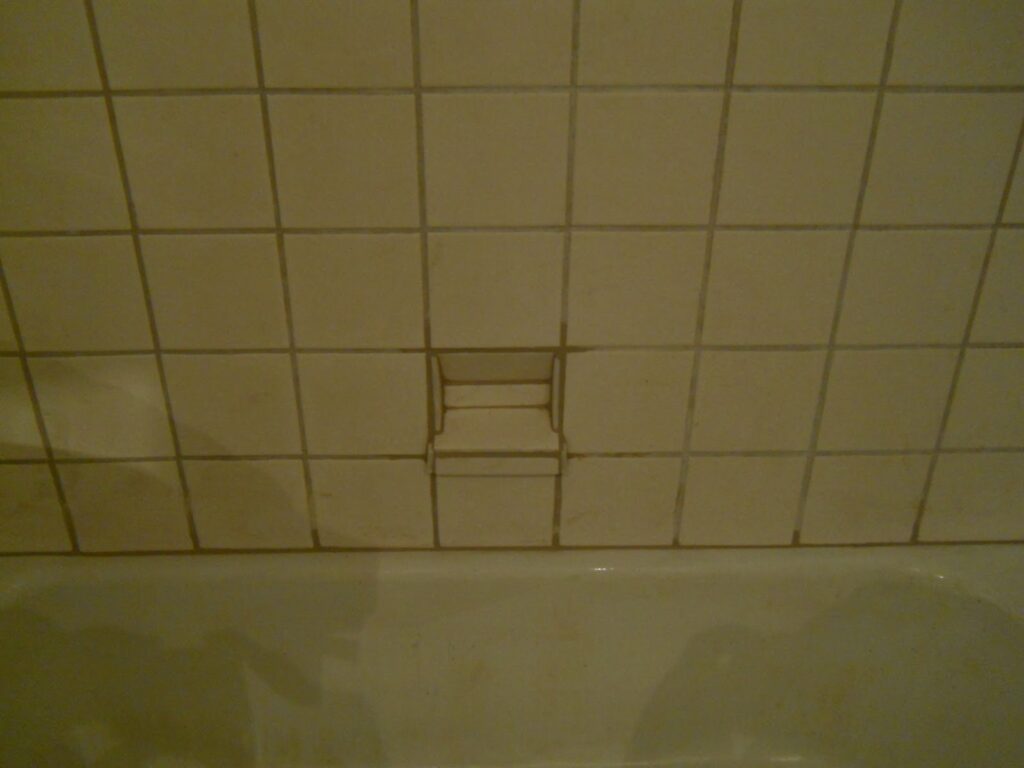
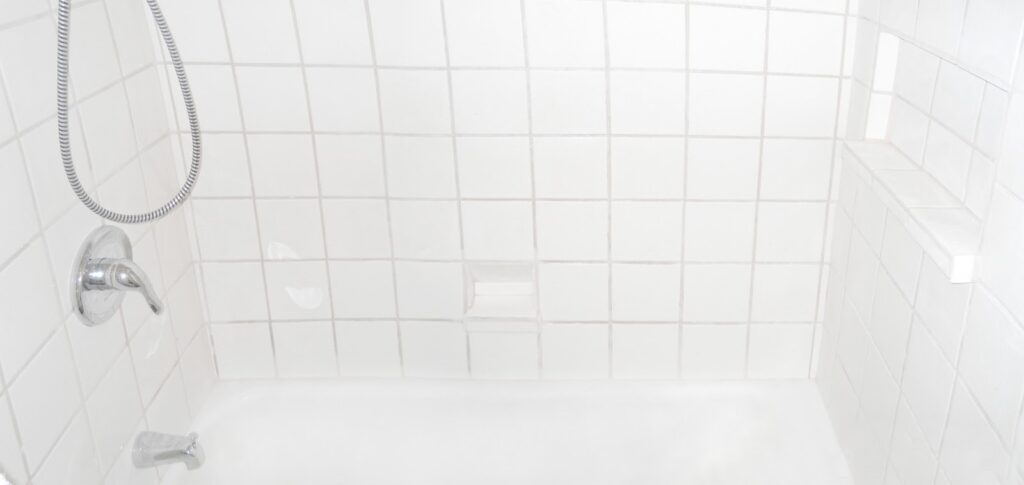
I decided since I was going through the work with the shower valve, I should add a couple things to help with keeping the bathroom tidy. One is this cut out for a soap holder.
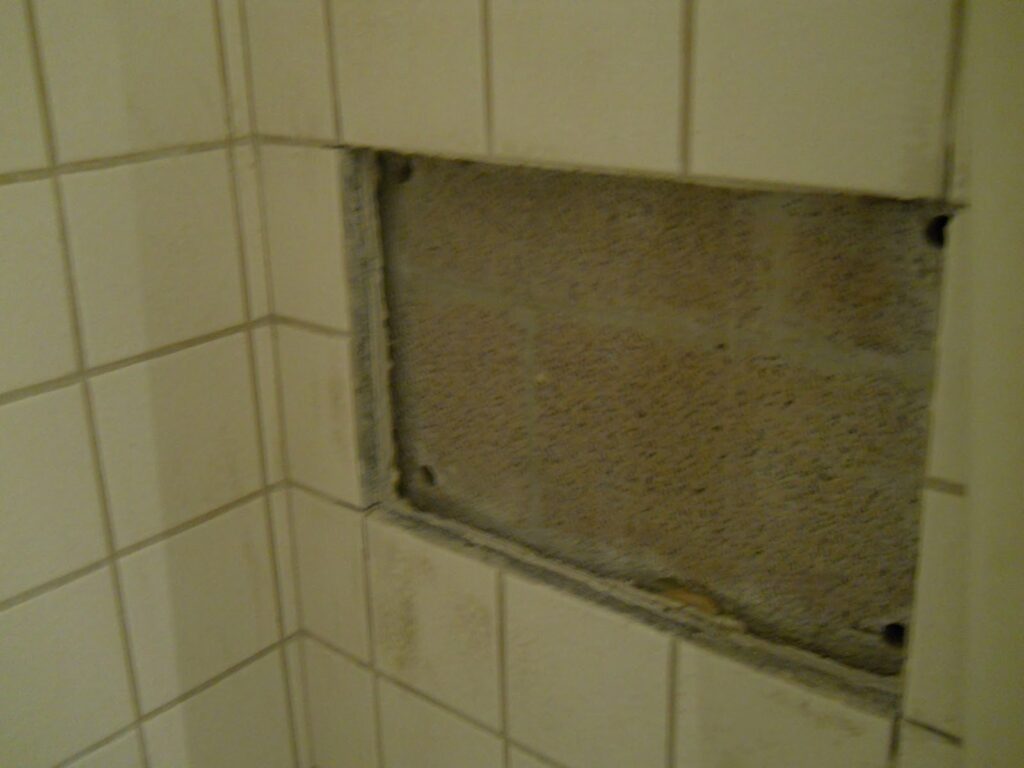
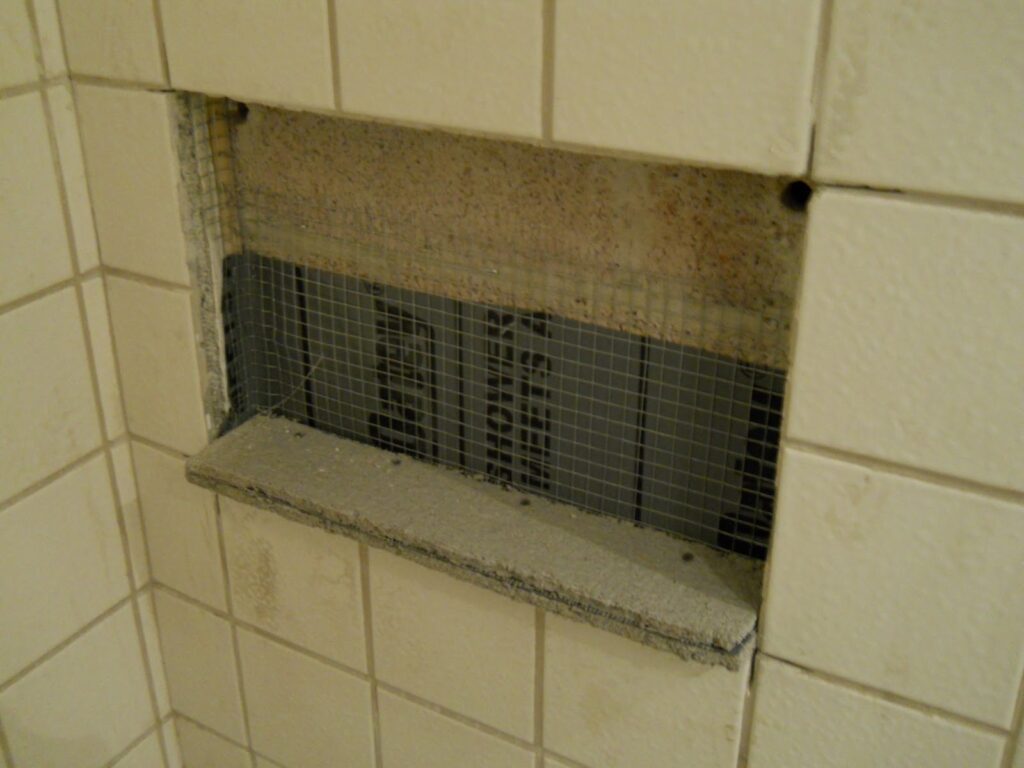
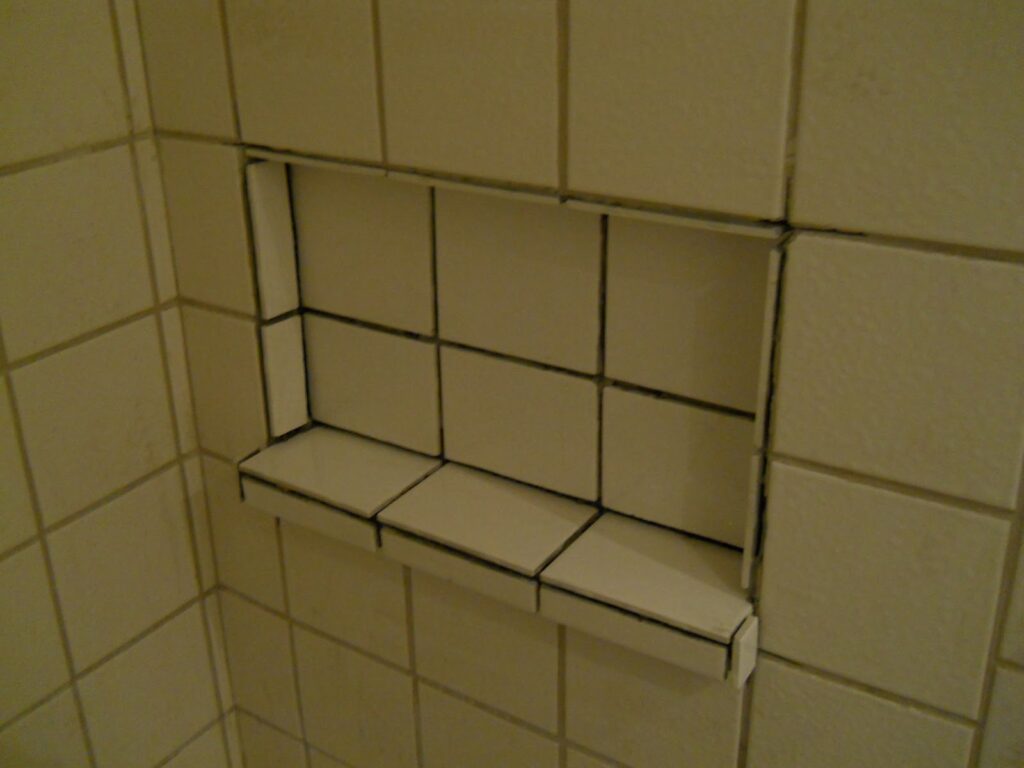
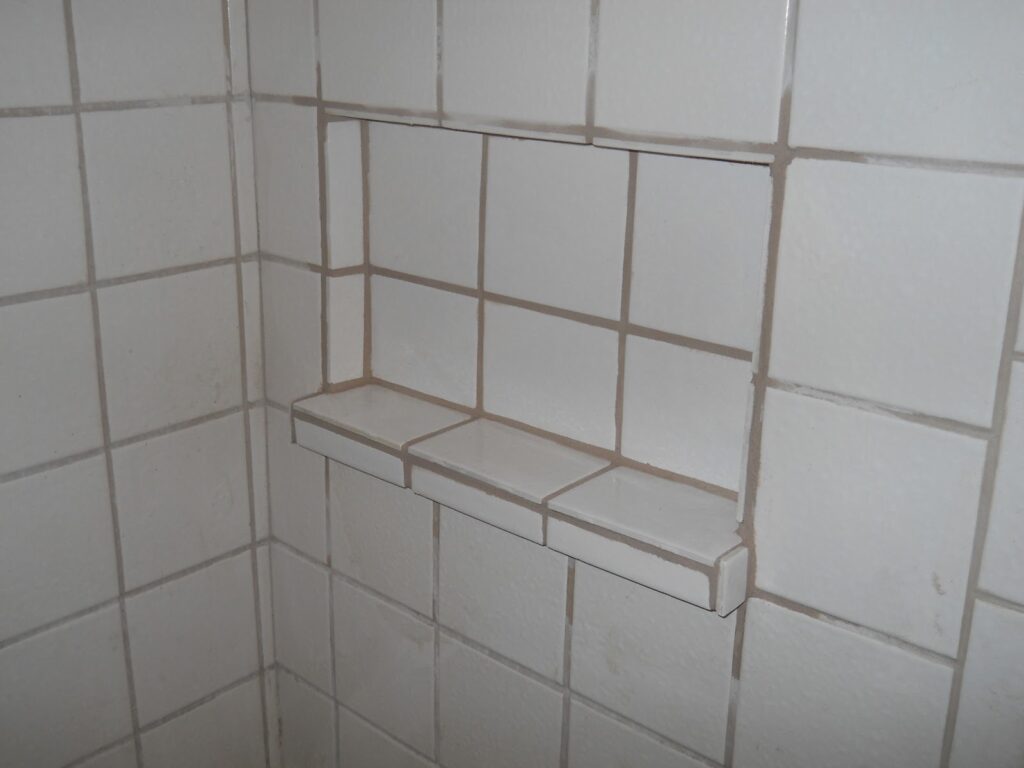
Two, is this cut for a shower shelf.
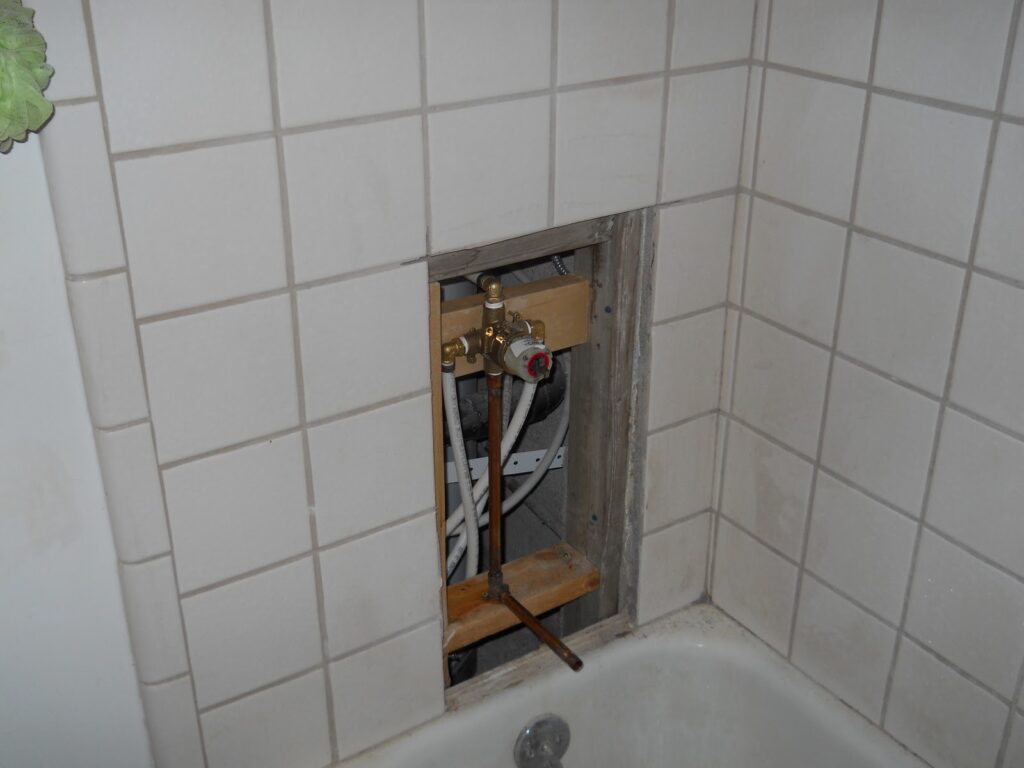
Here is the opening all framed up, Held in place with masonry screws and then blocking is installed to reinforce the valve body and the tub spigot. I did end up getting some threaded/pex 90 elbows since I was working in limited space.
Here’s the hole with the cement board that has been shimmed to match the existing wall.
This is the concrete board used to form the soap holder. This was kind of difficult reinforcing due to the size of the opening and the fact that I had to work around the concrete block. I ended up both gluing and screwing in wood to provide backing for the concrete board pieces and then used a wire mesh for the sides with pvc wrapped around to keep it water tight.
The shelf rough opening was more straight forward. New blocking around the perimeter, concrete board, PVC, wire mesh, then again concrete board.
The tiles have been set in mortar here. I ran into a bit of a problem. I thought I had 1/4″ spacers for the tile, but I did not. So I had to quickly cut a bunch of them after I had already started mortaring the tile. I made the spacers out of wood. To do this you take a miter saw and place a block of wood 1/4″ from the saw blade as a stop and clamp in place. Then cut as many as needed, the stop will ensure that every cut will be the same.
Mortared soap thingy
Mortared Shelf
Grout around shower valve and tub spigot.
Grouted soap thingy
Grouted shower shelf
Little project complete

This project took about 4 days intermittently working on it from diagnosis to final clean. The plumbing manifold I made is a life saver for projects like this since you can cut water for just this one fixture. Has already been useful several times. On a project like this it allows you to take your time without having to constantly turn on and off the water at the main and worrying about disrupting wash cycles or anything.

The real lesson though is to not buy cheapo no-name fixtures unless you’re positive you can get the parts easy. Although everything’s nice and secure and what not, if I could have gotten a cheap part to do a quick fix, would I have just fixed it? You bet.

Project Parts and Costs:

Valve and trim – $79
Tile – $8
Mortar and Grout – Had some leftover
Threaded/ pex 90s – $10
Copper 90 with anchor – $4
Threaded copper ends and copper pipe – had some leftover
Teflon tape – had some leftover
40 mil PVC sheet – had some leftover
Wire mesh – had some leftover
Cement backer – had some leftover
Masonry anchors – had some leftover
2×4 wood for framing – had some leftover
Screws – had some leftover
Clear silicon caulk – had some leftover

Final and all the rest

The Final is over, the house is done. The flooring is down, the carpet is in. All the electrical is covered, all the appliances installed. The last inspection only had problems with exterior items, for instance, Provo wanted bubble covers for all exterior outlets (except those under eaves). They also wanted a fixture on the outlet by each exit. Neither was a big deal. I’ve added a few items since, such as closet rods, shelves and blinds.

Here’s one before and after

Tile

Here’s the tile not cleaned or sealed, but here it is.

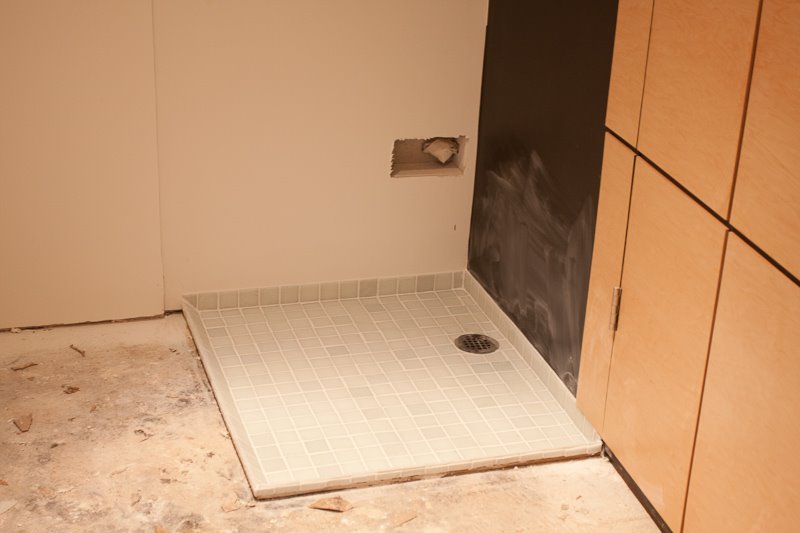
Washer/Dryer Pan with glass mosaic tile white grout and morter
Metallic tile (doesn’t render well in photographs) grey morter and black grout
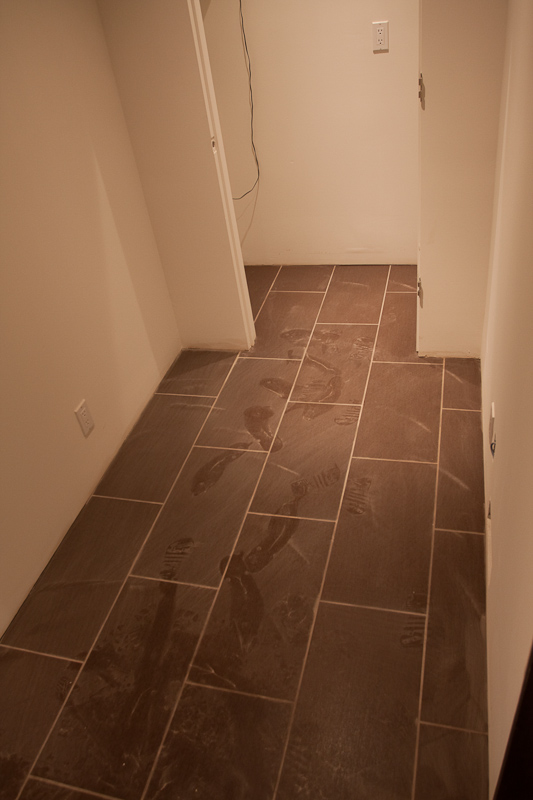
1×2 brown tile (grain pattern) grey morter with mocha grout
This is the bath. Funny thing about the toilet was that part of the reason I tore out the tile was because the tile was not level around the toilet and the toilet was wobbily. So when I put the tile in perfectly level and the toilet was still wobbily, I came to find out the toilet itself was cast poorly. Was able to fix and now the toilet sits tight.

Painting and Staining

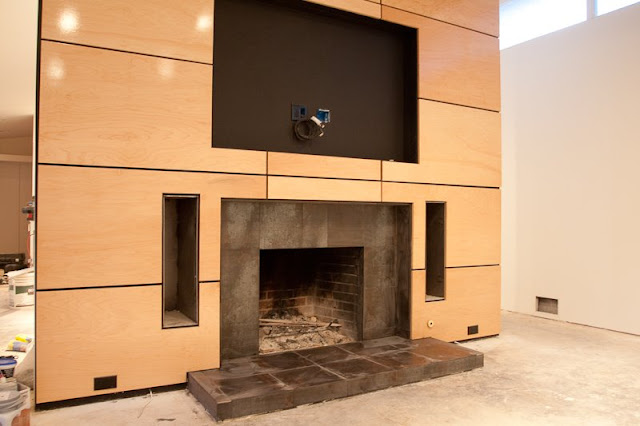
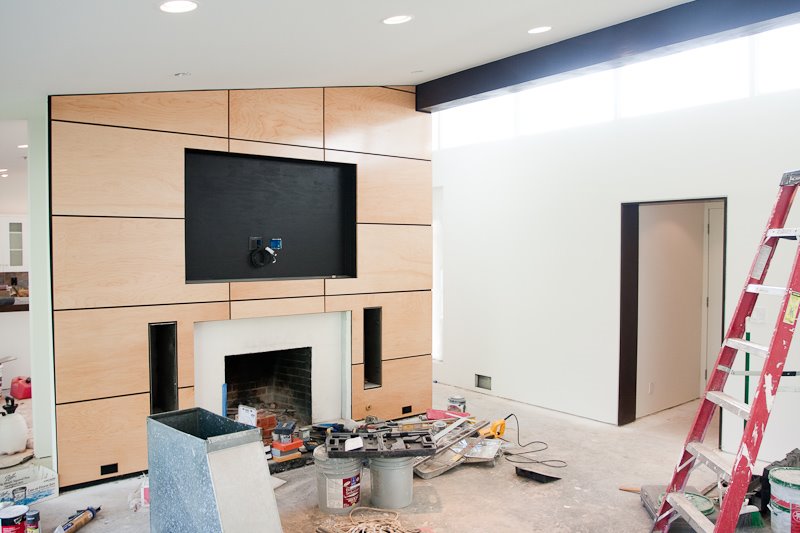
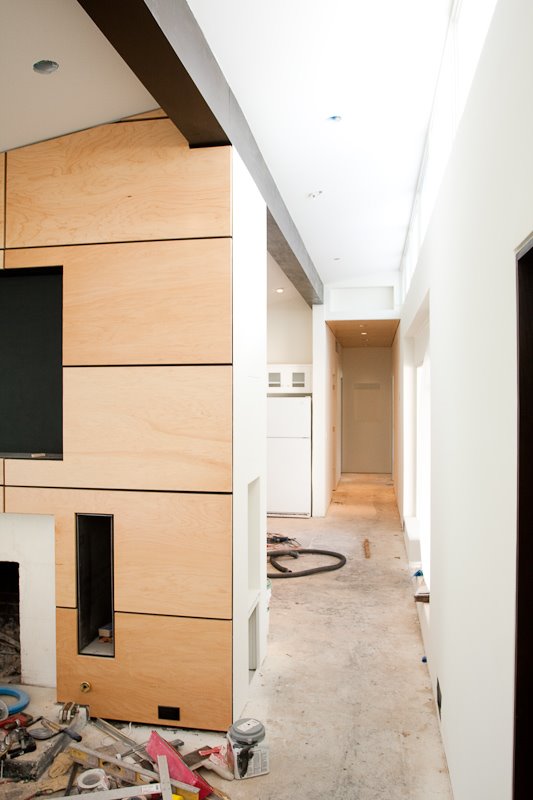
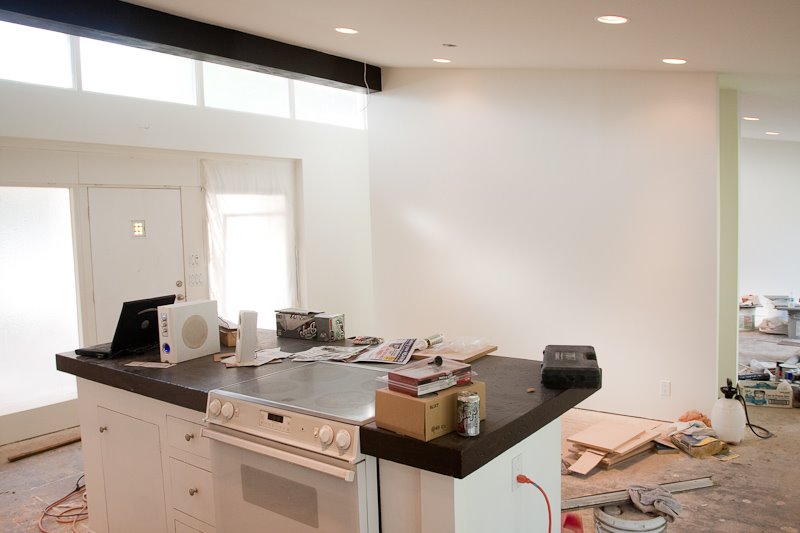
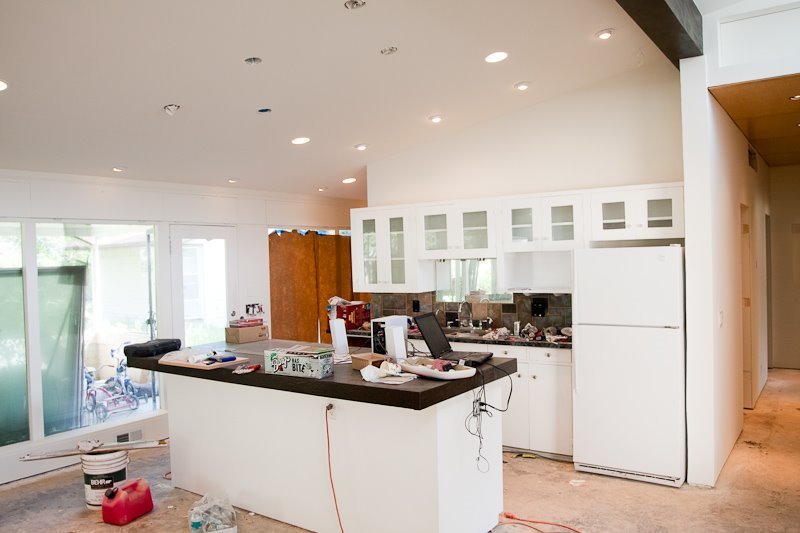
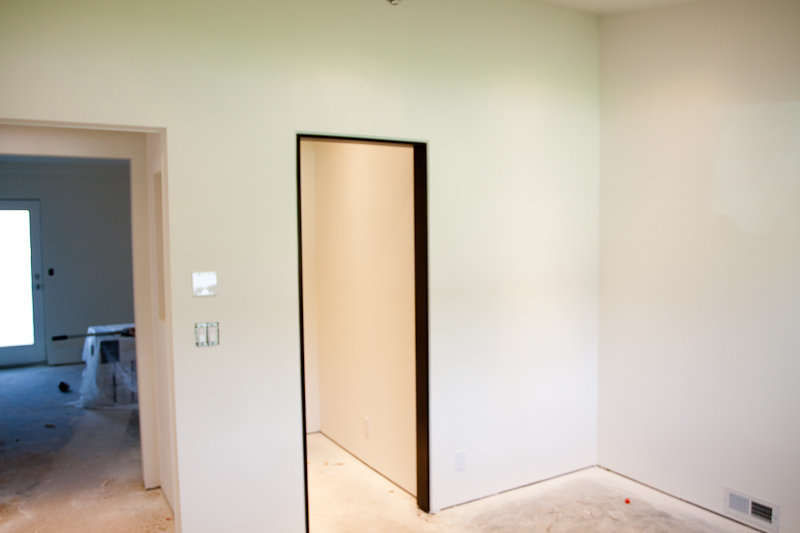
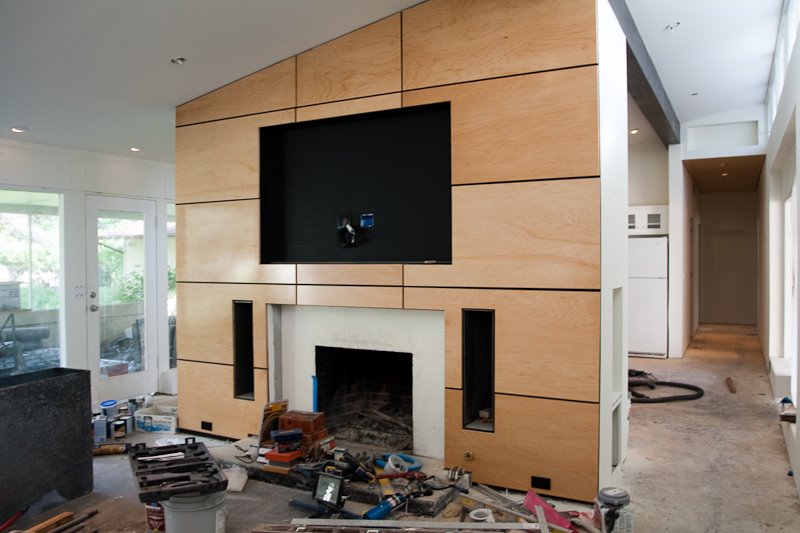
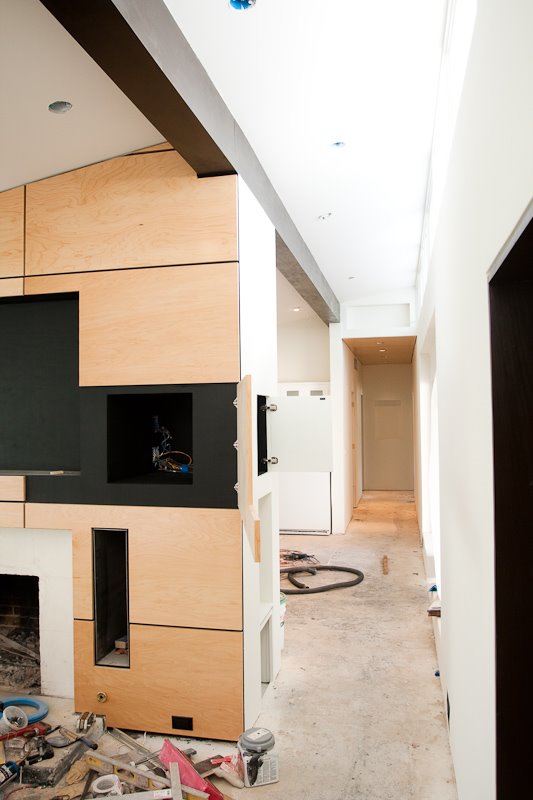
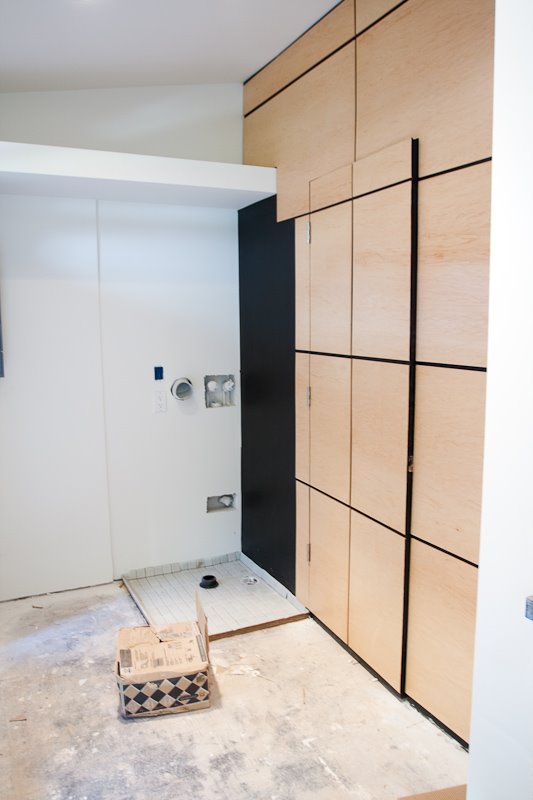
The color pallet for the paint was basically dark and light, black and white. The walls for the most part are white – more specifically alabaster white. Where the walls were to receive maple panels, I painted them black. The wood accents are stained dark, like the beam and jambs. The feature panels were stained natural and then topped with an acrylic. The cabinetry, including the island, was painted with white lacquer.

you see the access doors to the media center
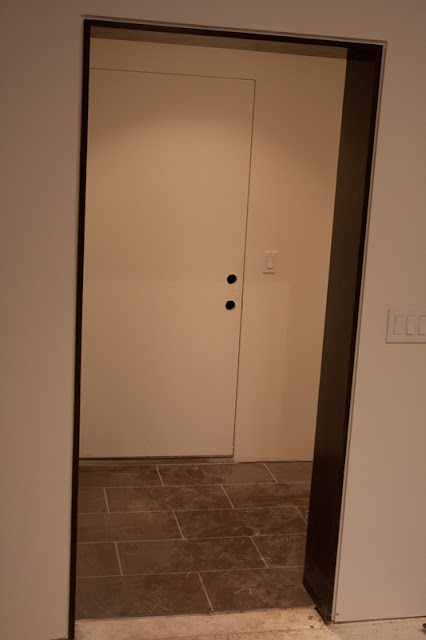
Here’s the door to the furnace/ utility room.
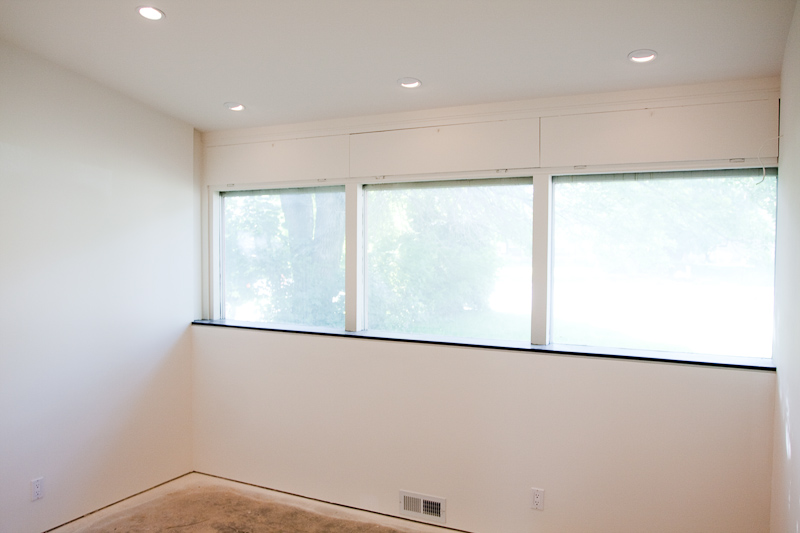
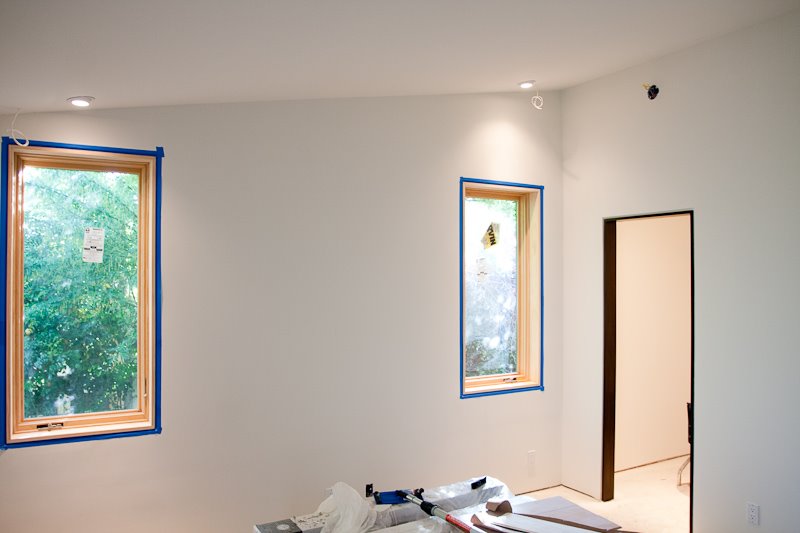
Master. I haven’t stained the window jambs quite yet because the weather never seems to cooperate with when I want to stain them.
Mudroom
Garage

Small Built-ins

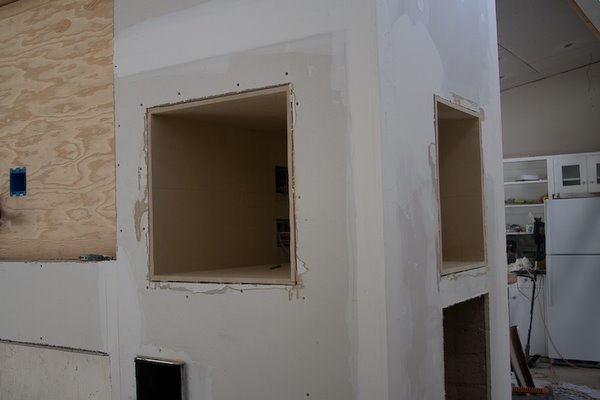
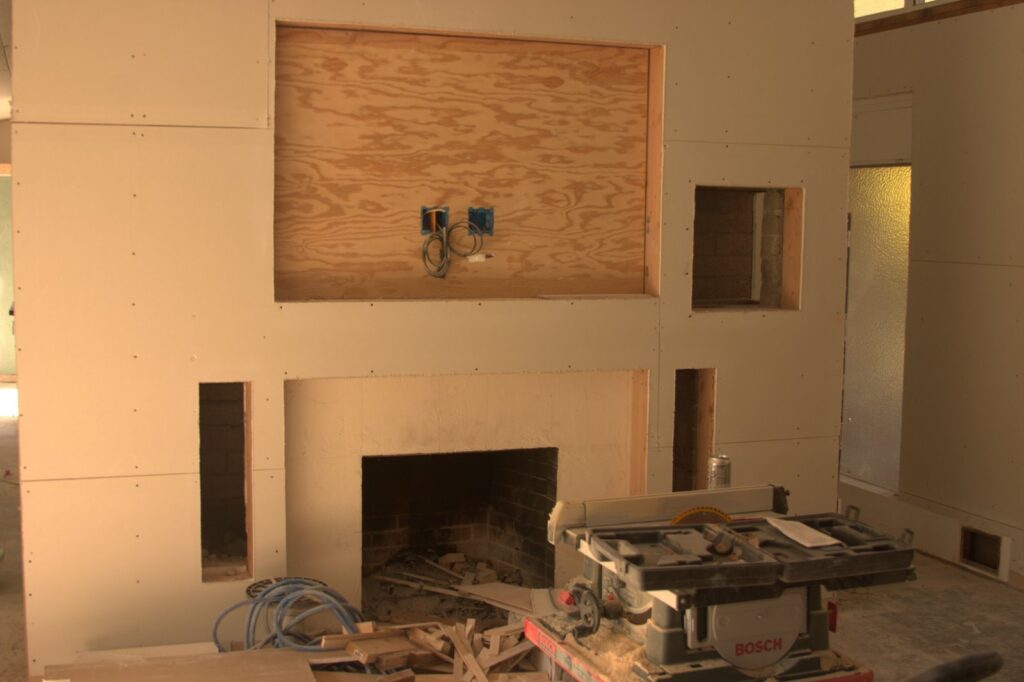
This box is for the media center. The box is L shaped to allow easy access to he components connections. Also, I put in plywood backing to mount TVs.

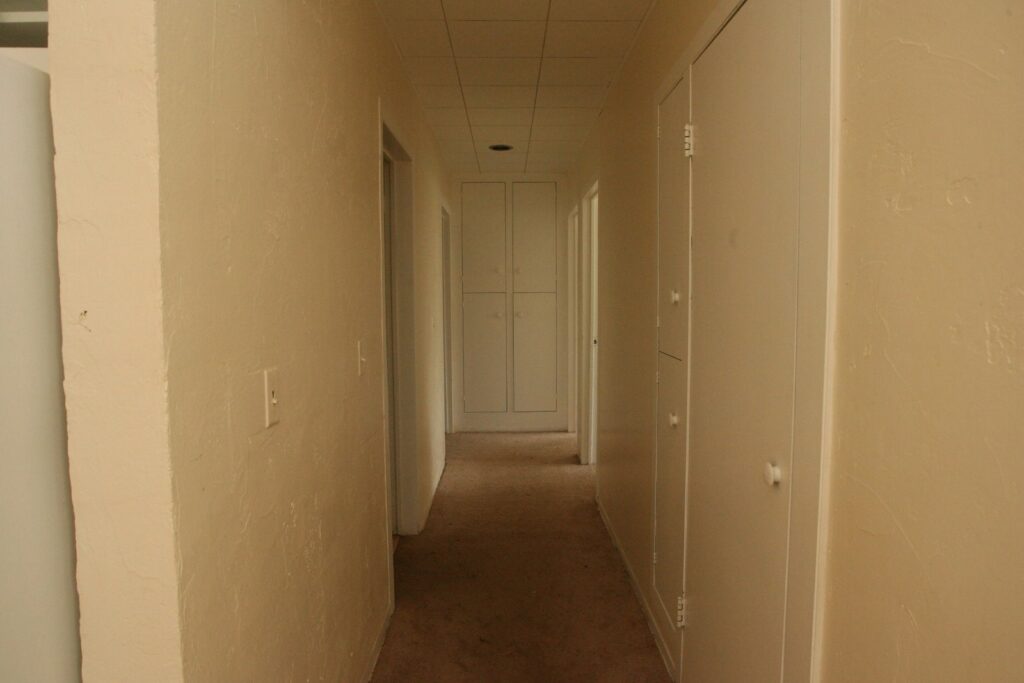
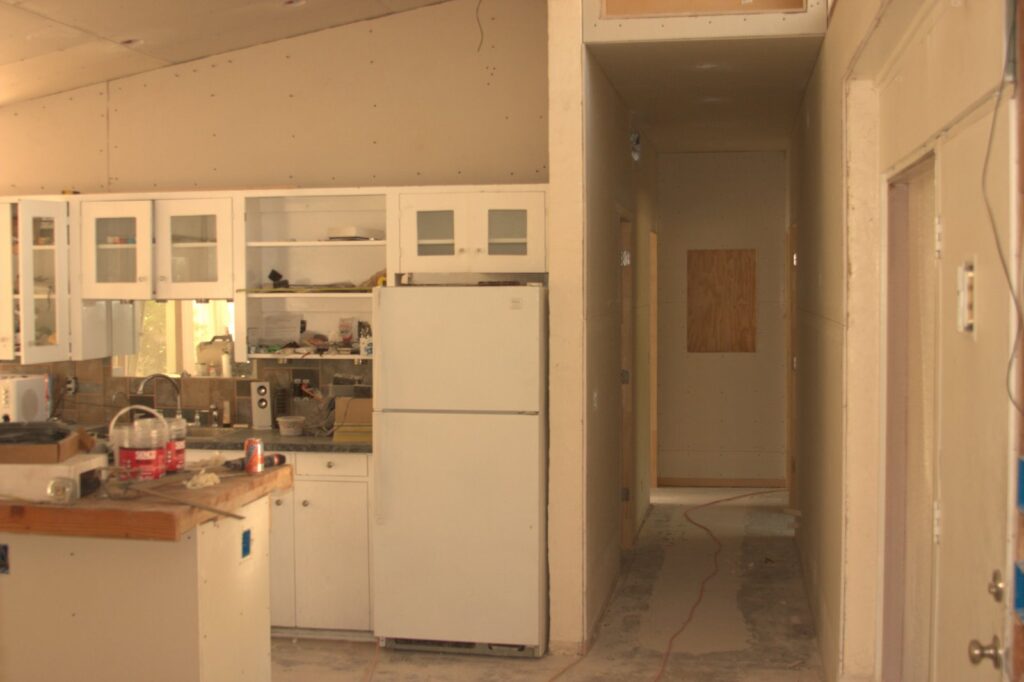
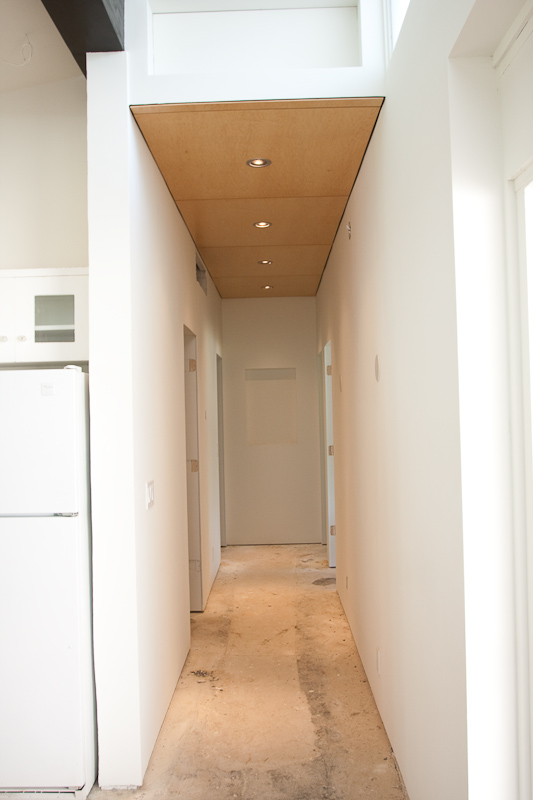
Art Niche in the Hallway with Electrical for lighting and art niche above the hallway.