My $100 Home Theater
I built this over a year ago, but just haven’t gotten around to posting this. So I’ll just come out and say that I’m fibbing a bit. I already had a lot of the material to do the job including; wiring, a little drywall, a projector, computer, sound system, and screen material. The room already had drywall and carpet, but it was just one big unfinished room with a fluorescent light in the middle. What I did was fish a lot of new wires, Changed the lighting design, brought new power in to effectively triple the amount of power capacity available. Route cat 6 ethernet throughout. I also milled my own base, made my own shelving and desk. Mixed my own paint color and glaze. I also repaired all the drywall cuts I had to make, textured the walls, painted, stained, and lacquered all finish work. Cut and seamed the carpet where needed. I also made my own doors (I think the small inline one is especially cool).
So what did I have to buy from the store? Pretty much only the drywall mud, lacquer, and hardware for the doors. Again, I did already have a lot of stuff, but even that you can still get pretty cheap off sites like craigslist. I also did my fair share of asking people if they had anything they weren’t going to use. It became a challenge to complete the project for as little money as possible.
The room is pretty small and was long and narrow. When designing, I also didn’t want to sacrifice storage, just maximize it. I basically figured out where the projector had to be and then built the new wall there to accommodate the throw of the projector. So I took one room and split it into three. One room for the theater/office, one for floor to ceiling storage with a small refrigerator and a microwave, and one small storage room under the stairs where we store bean bags, blankets and books.
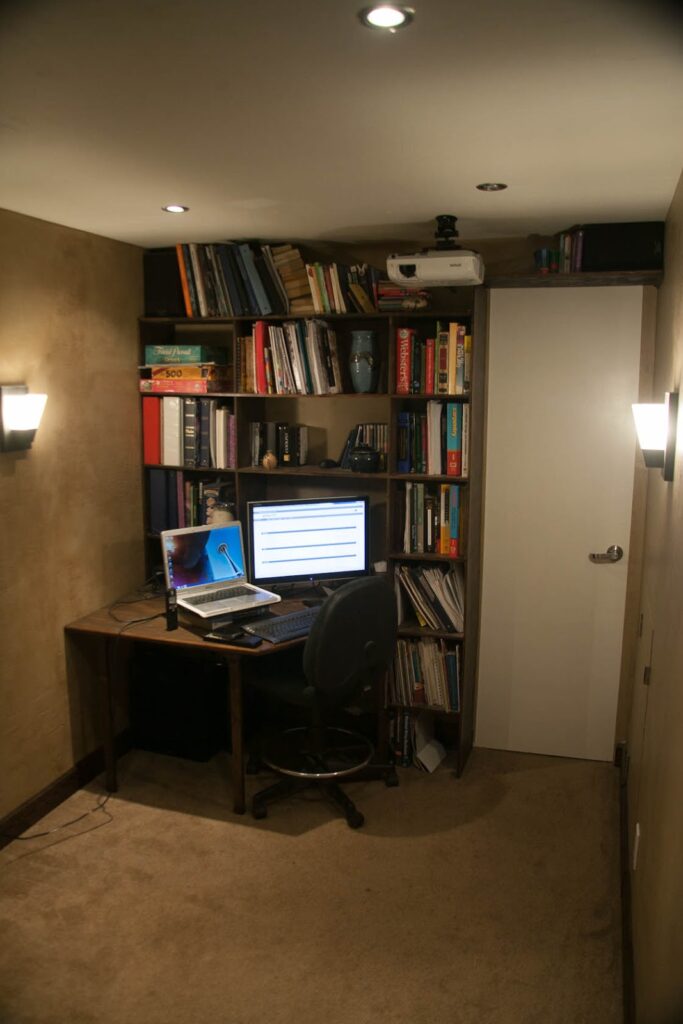
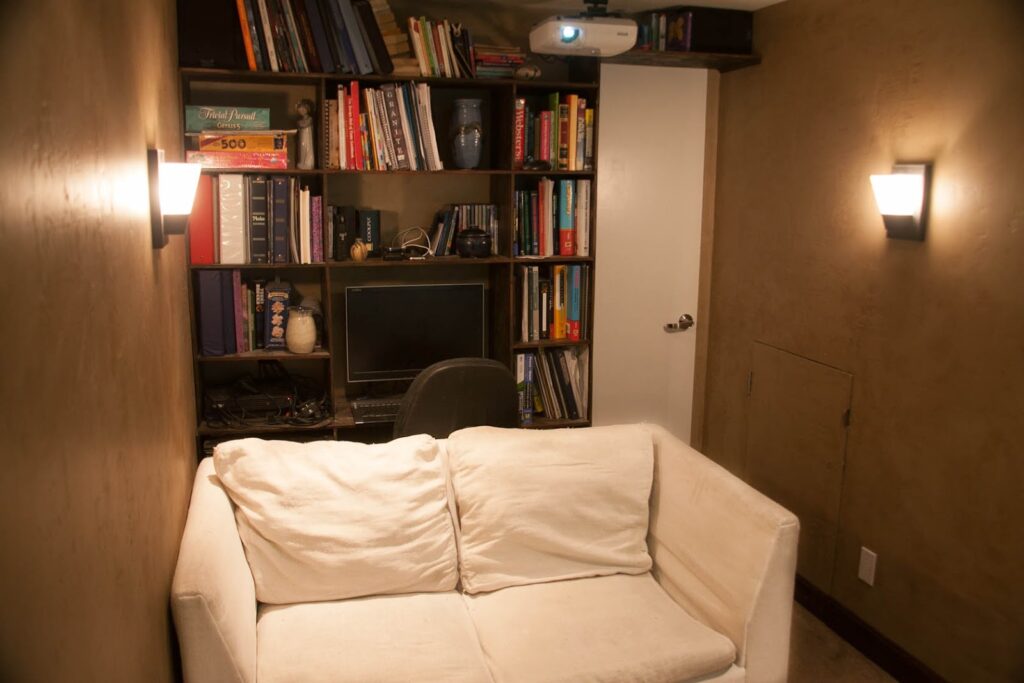
Below is a picture of the storage shelving built on the theater side. The door goes to our full-height storage room, and I have the desk set up so I can work. This is where I spend most my days.
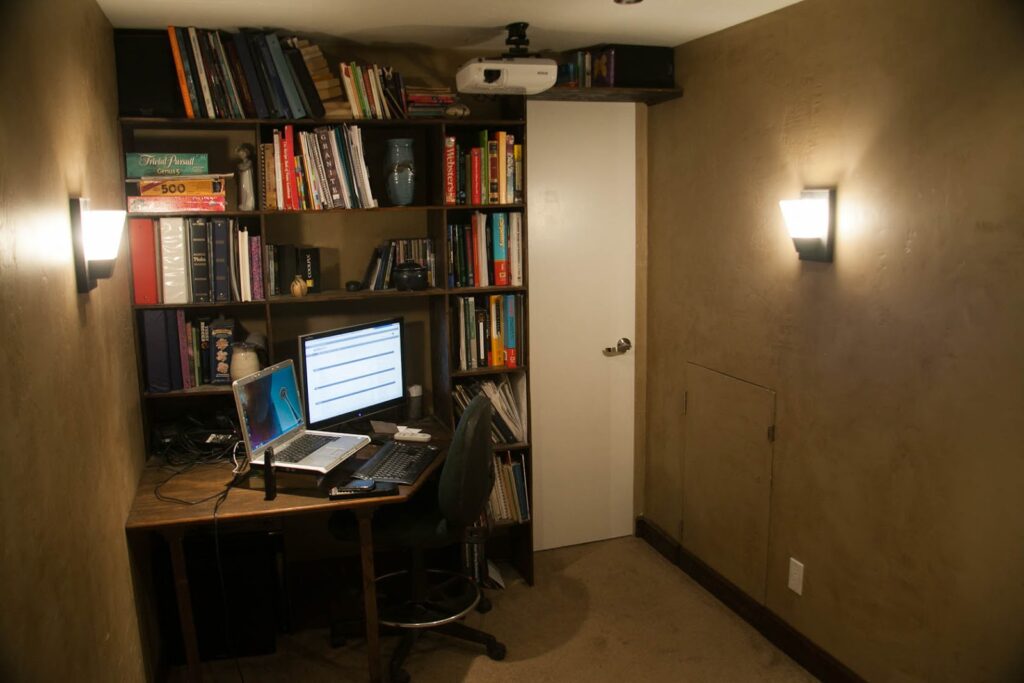
Below you should clearly see the outline of the small inline door.
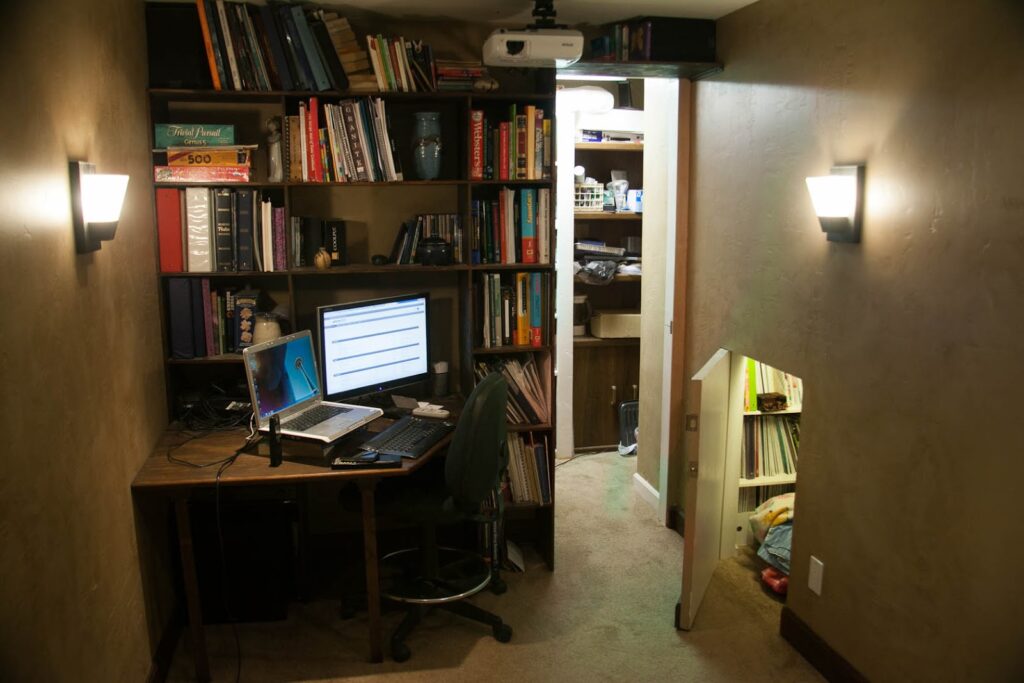
Below, the doors are open
Below I’ve removed the add on desk space to maximize space.
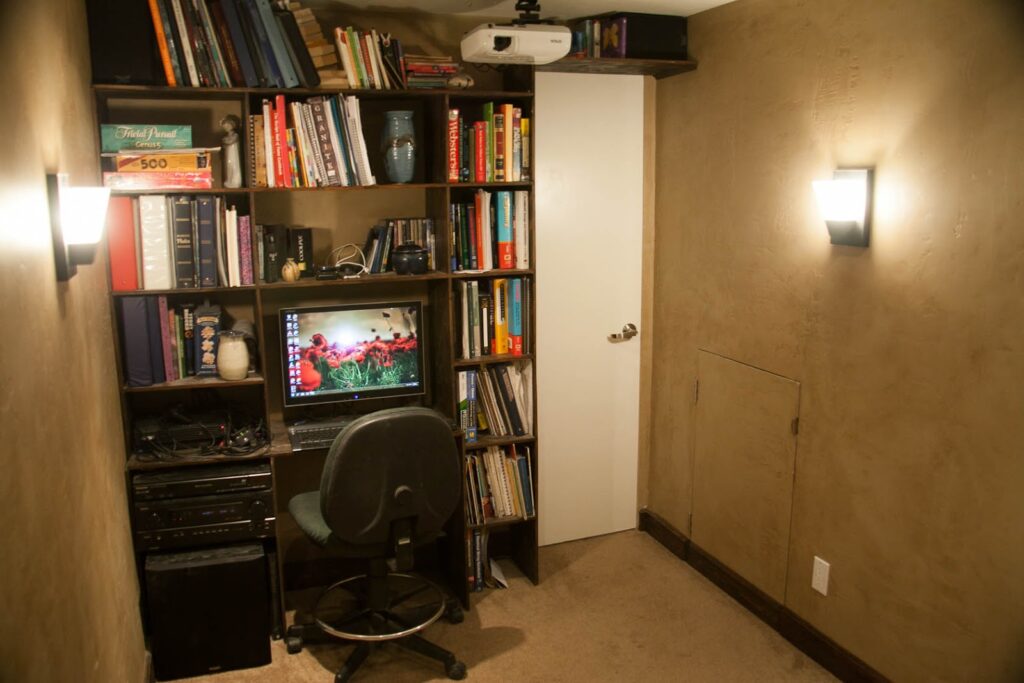
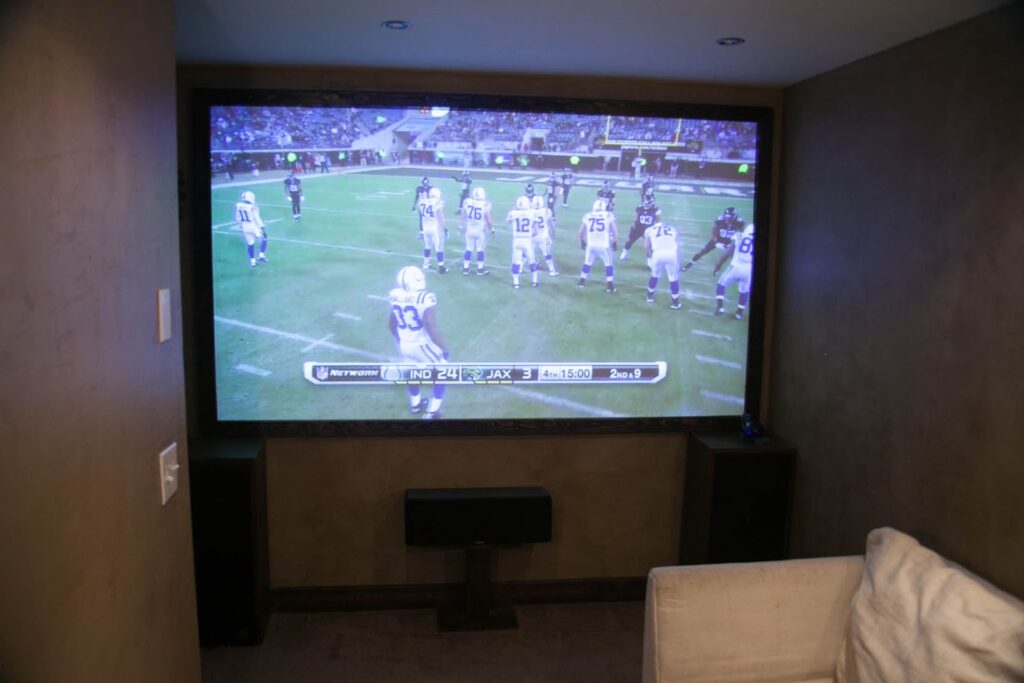
Here’s the theater screen. I made the small table, the stand for the center channel and the screen frame. The screen itself I made from fabric from a screen I made years ago.
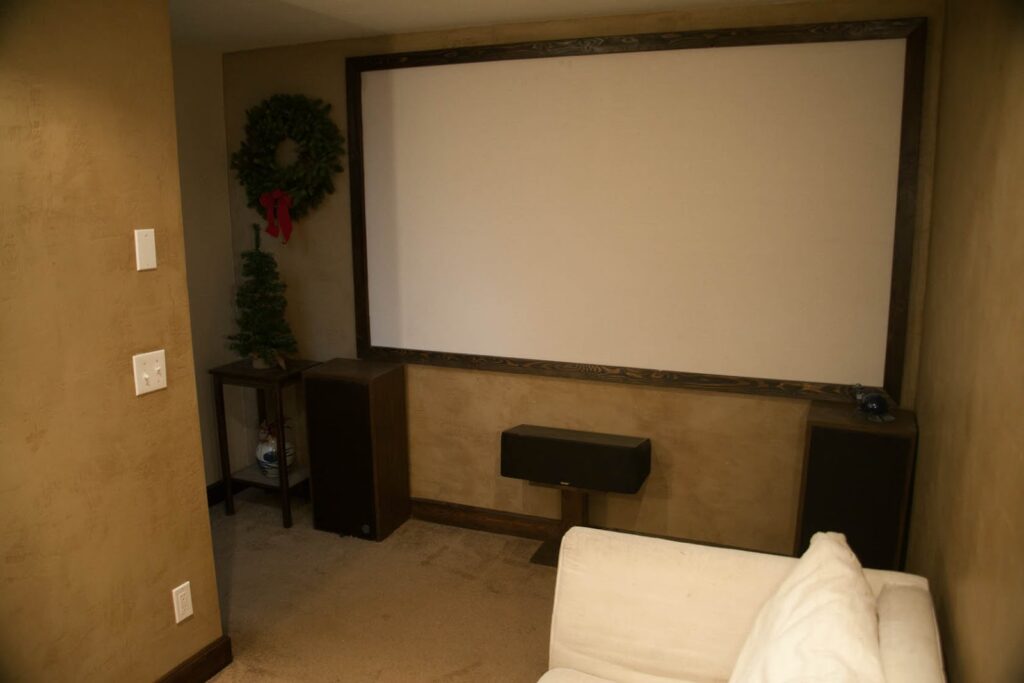
With the desk removed, a couch can then be pushed back farther to accommodate more bean bags up front. Eventually, I want to get a more compact couch without arms.
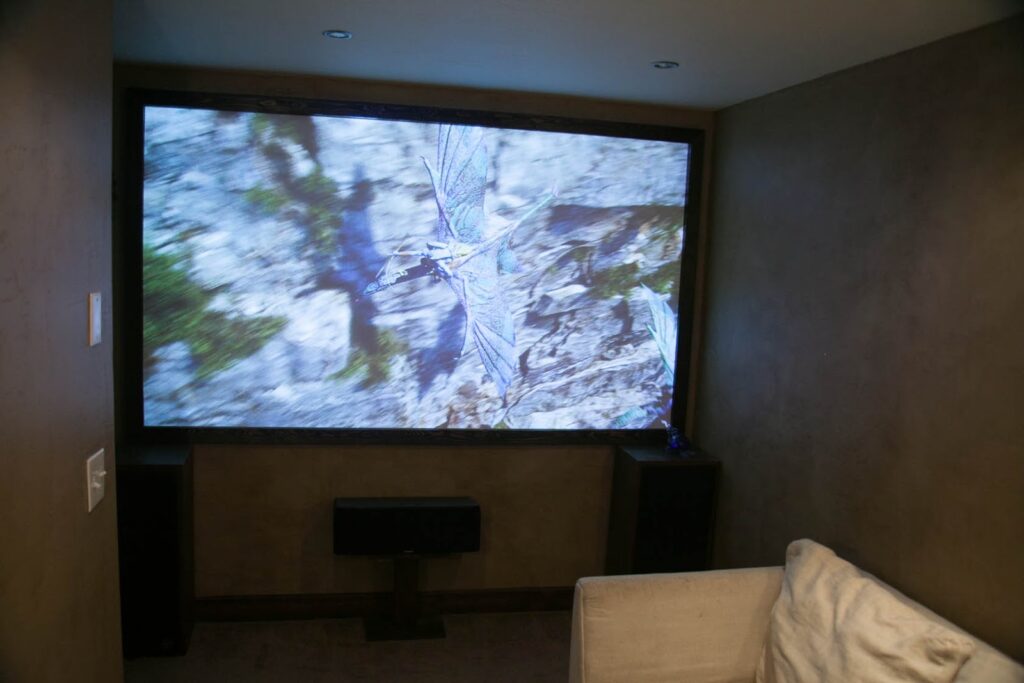
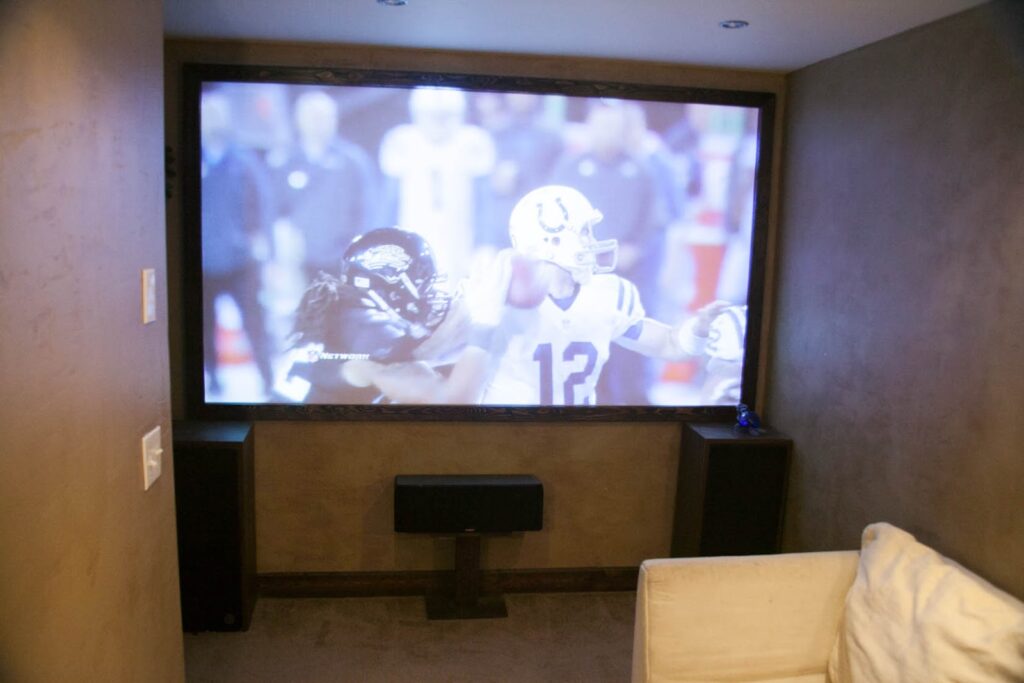
Below are a couple pics of the projector in use. Pictures looks better in person and even more so with the lights out, but this gives an idea.
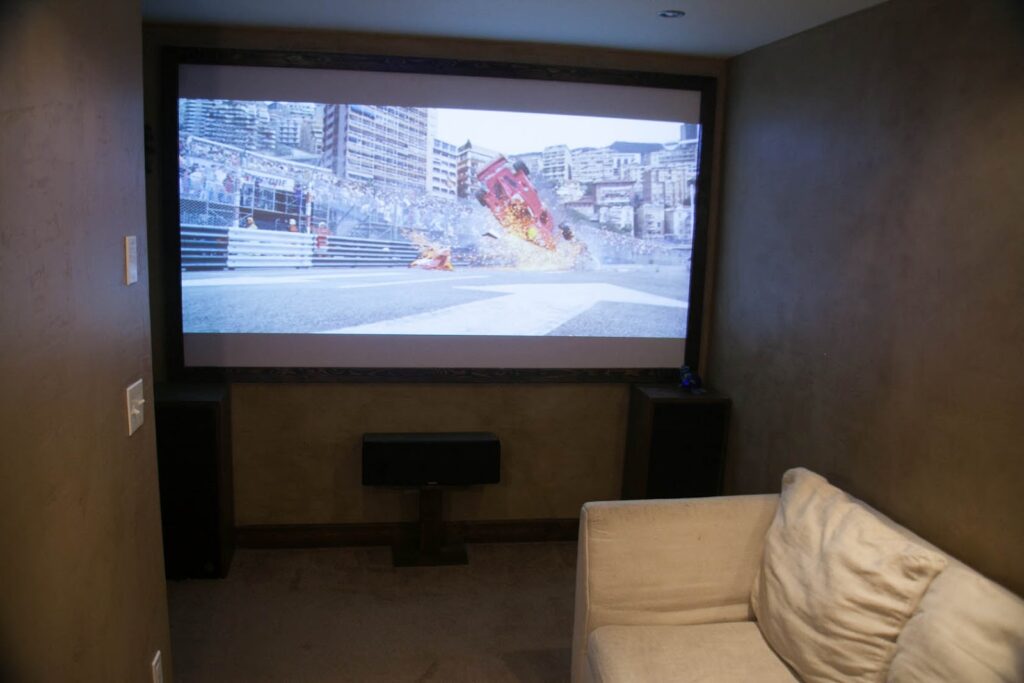
Great day until…
Boom – I wish my car hadn’t gotten hit.